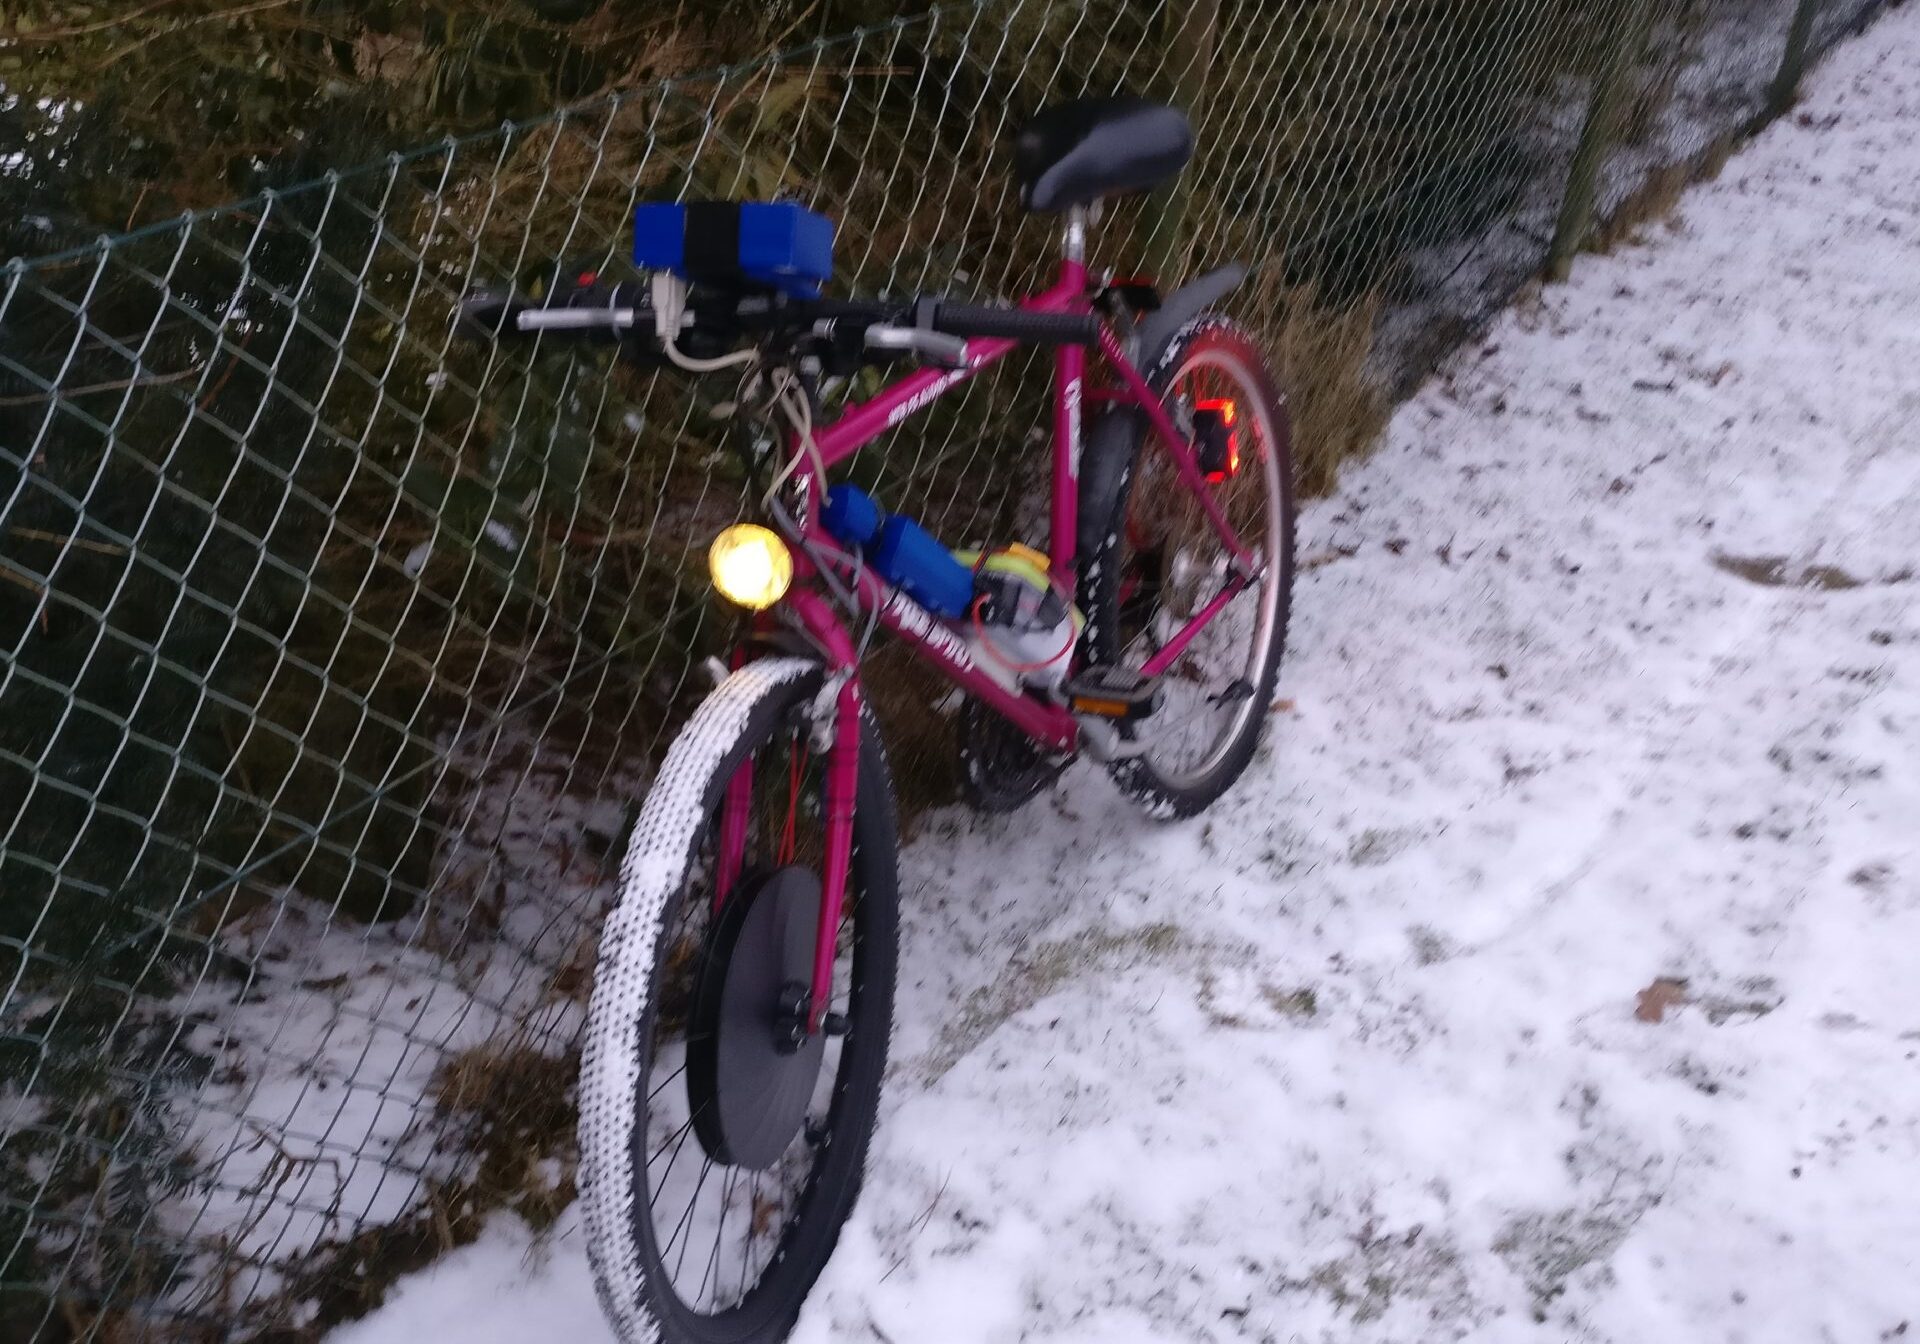
Electric Bike
Table of Contents
This was my first "serious" electronics project.
I started building it in 2017, when I was still in school. Especially the controller on the handle underwent many revisions - I learned new stuff and kept adding new features.
Overview
A good friend of mine started building an electric skateboard. This inspired me to build myself an electric means of transportation too!*
I used a pre-made electric speed controller (VESC) since all of the high-power electronics were much too complex for me to design back then.
The part most of the work went into was the control box. It controlled the ESC by sending it a PWM-Signal. In addition to that it also measured the speed and many other parameters. Over the course of about two years I added new features and even re-designed the controller from ground up.
*a regular bicycle was often more convenient, but it was all about the fun 😀
Hardware
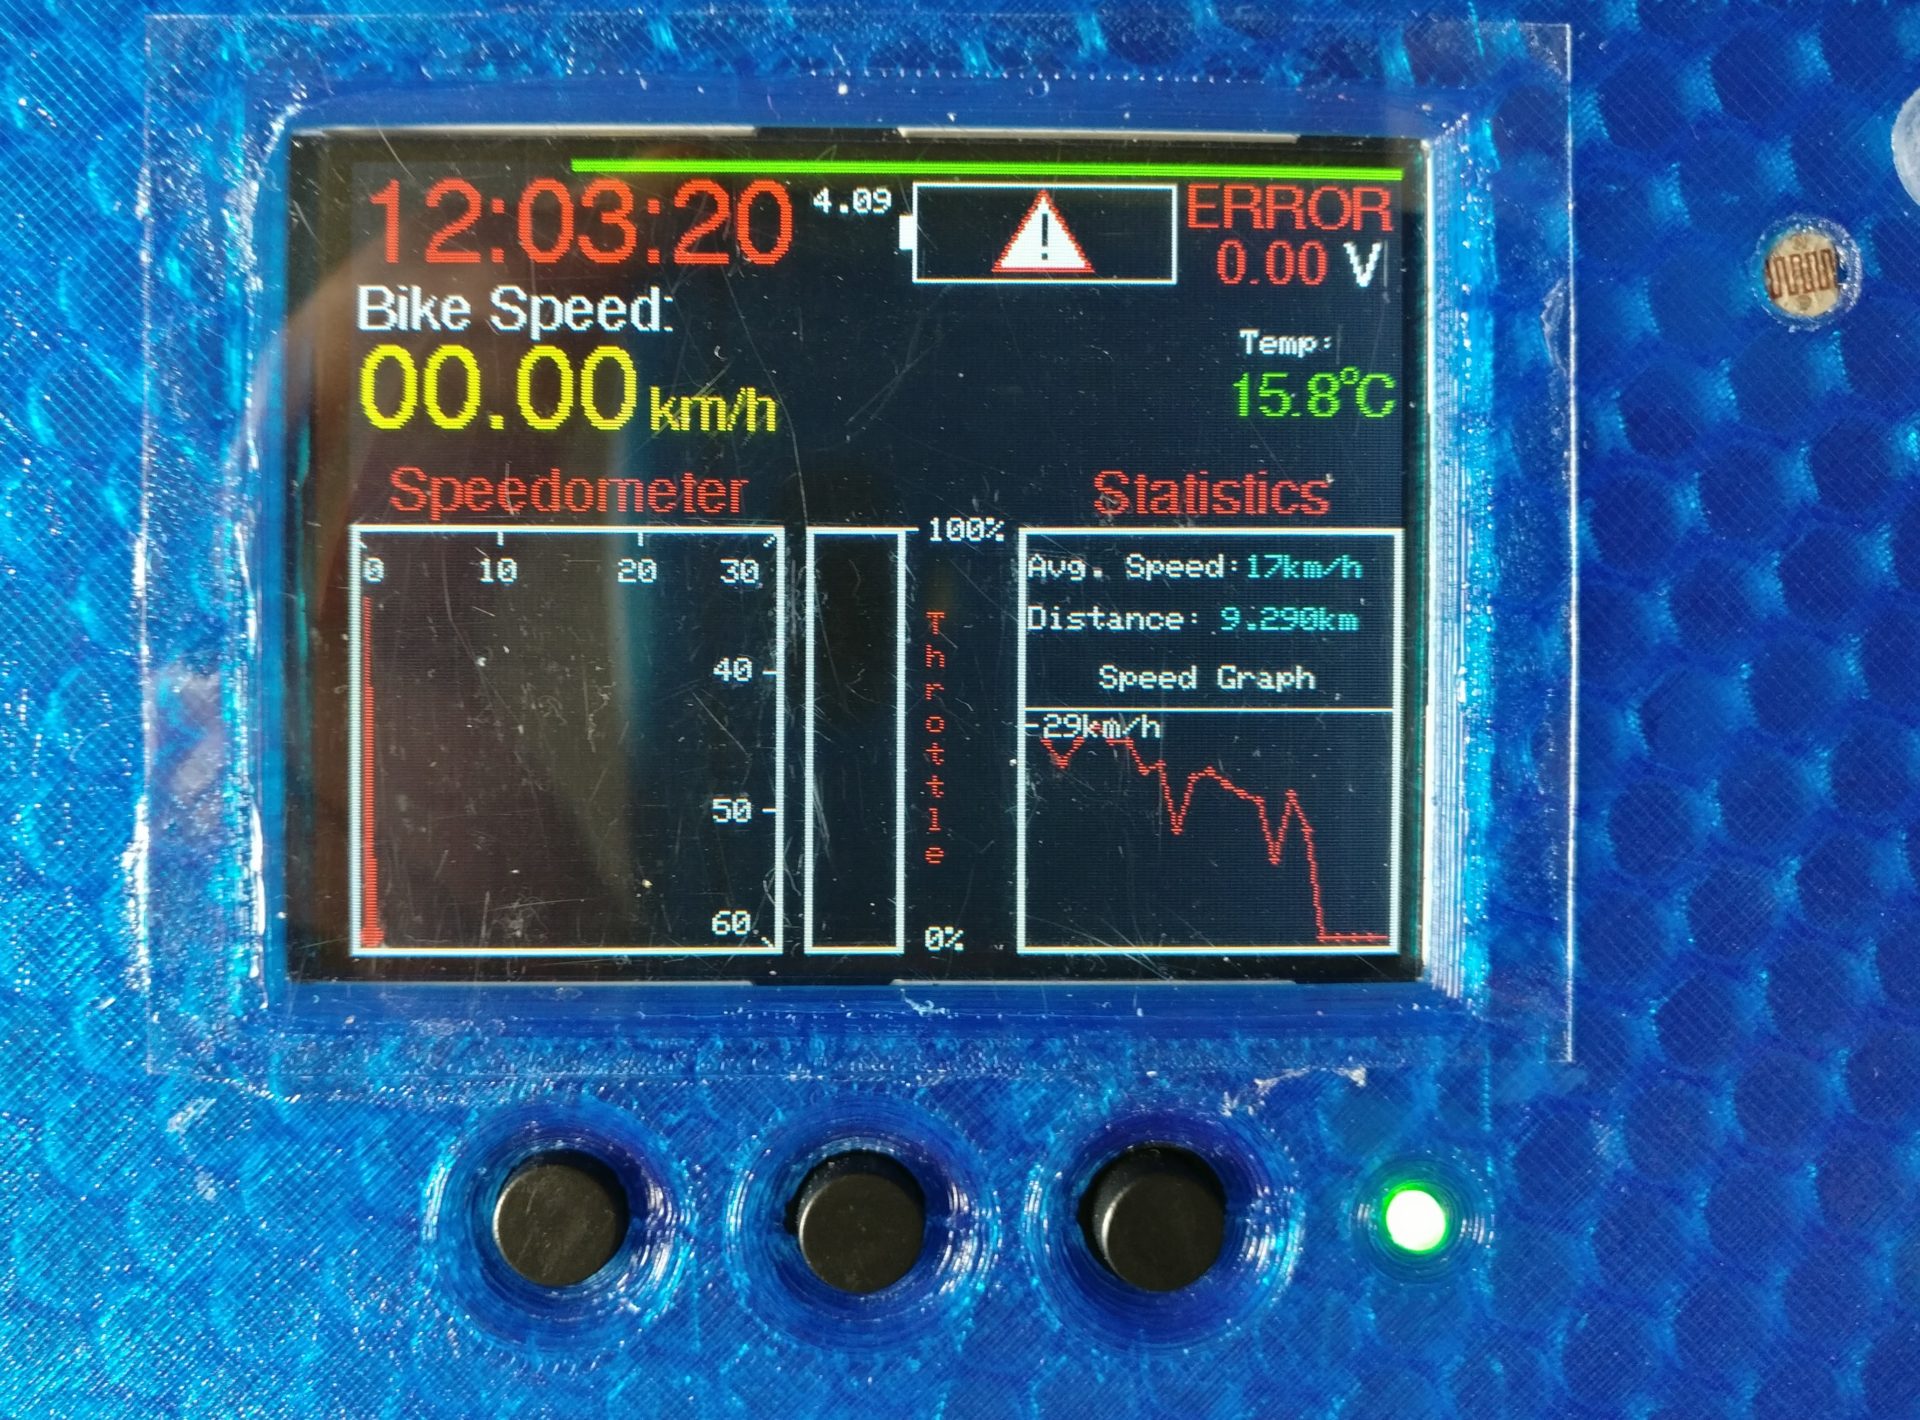
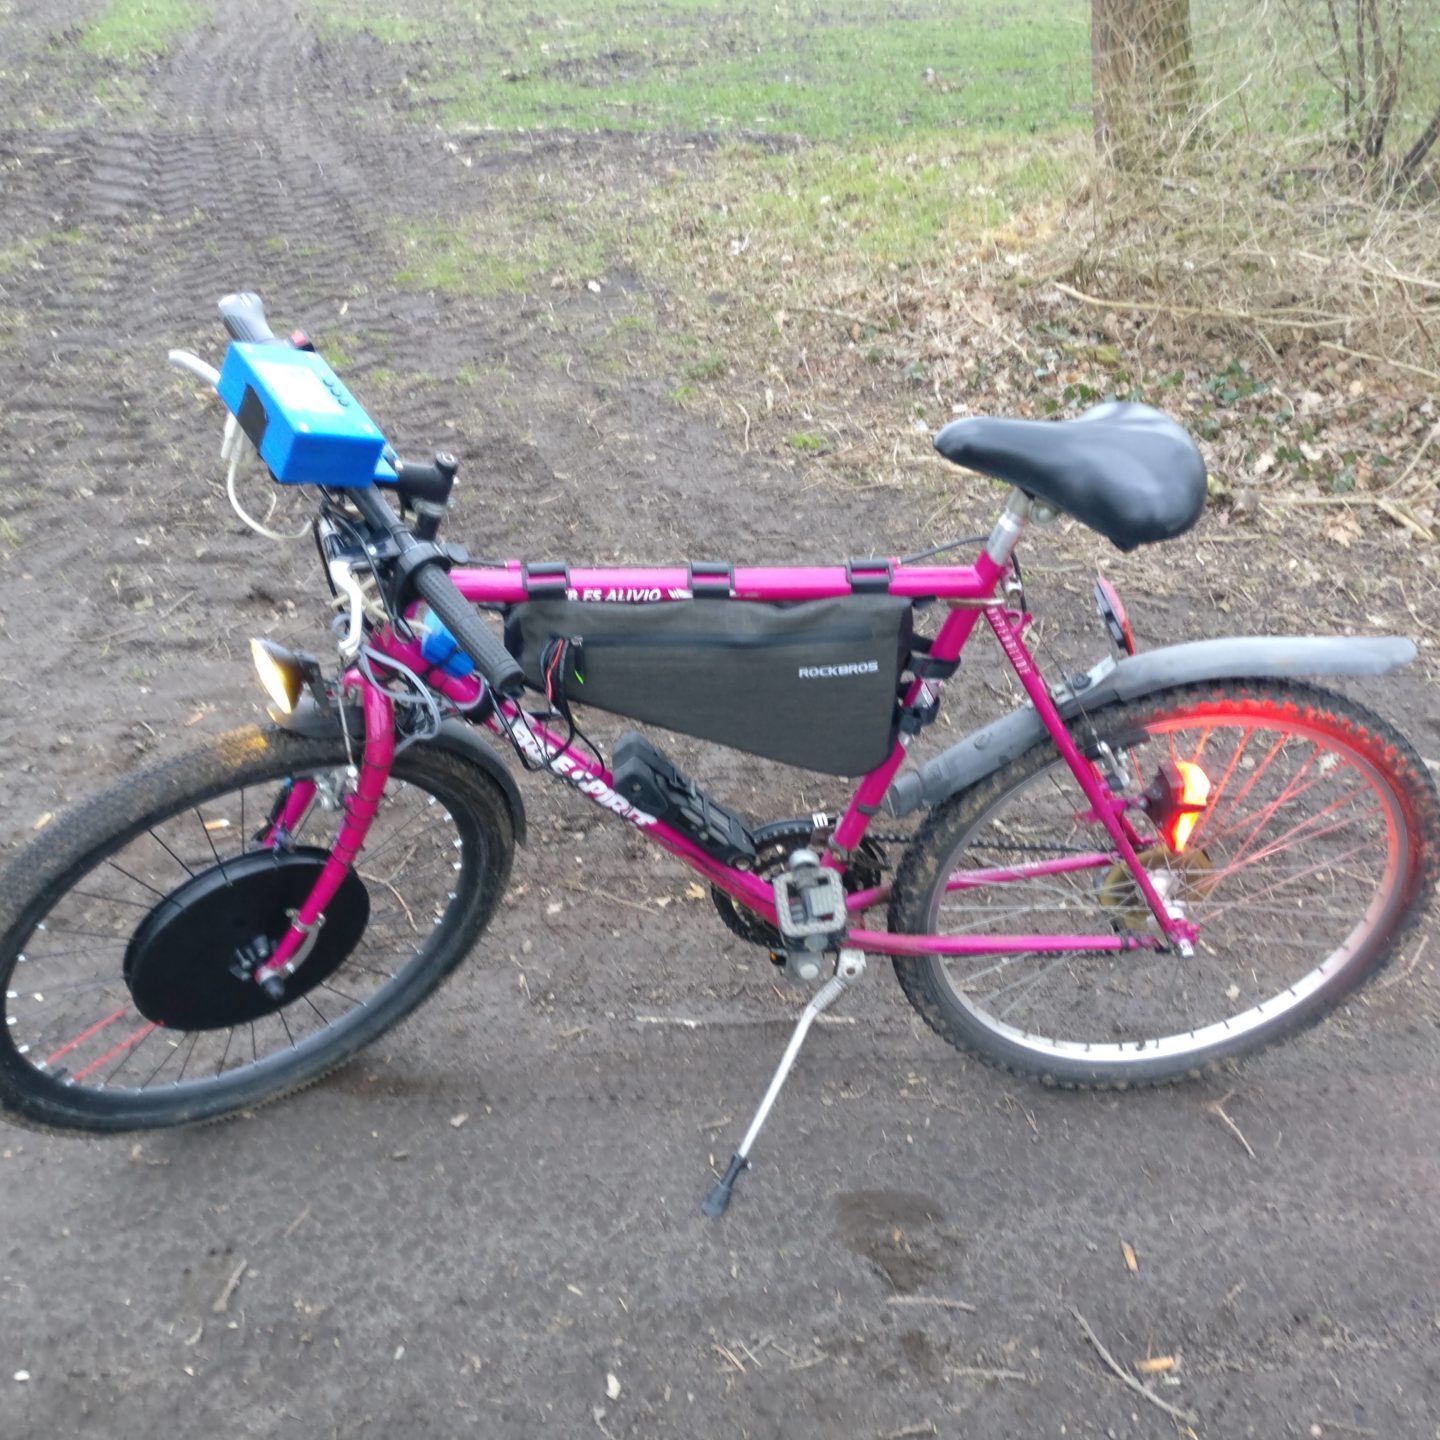
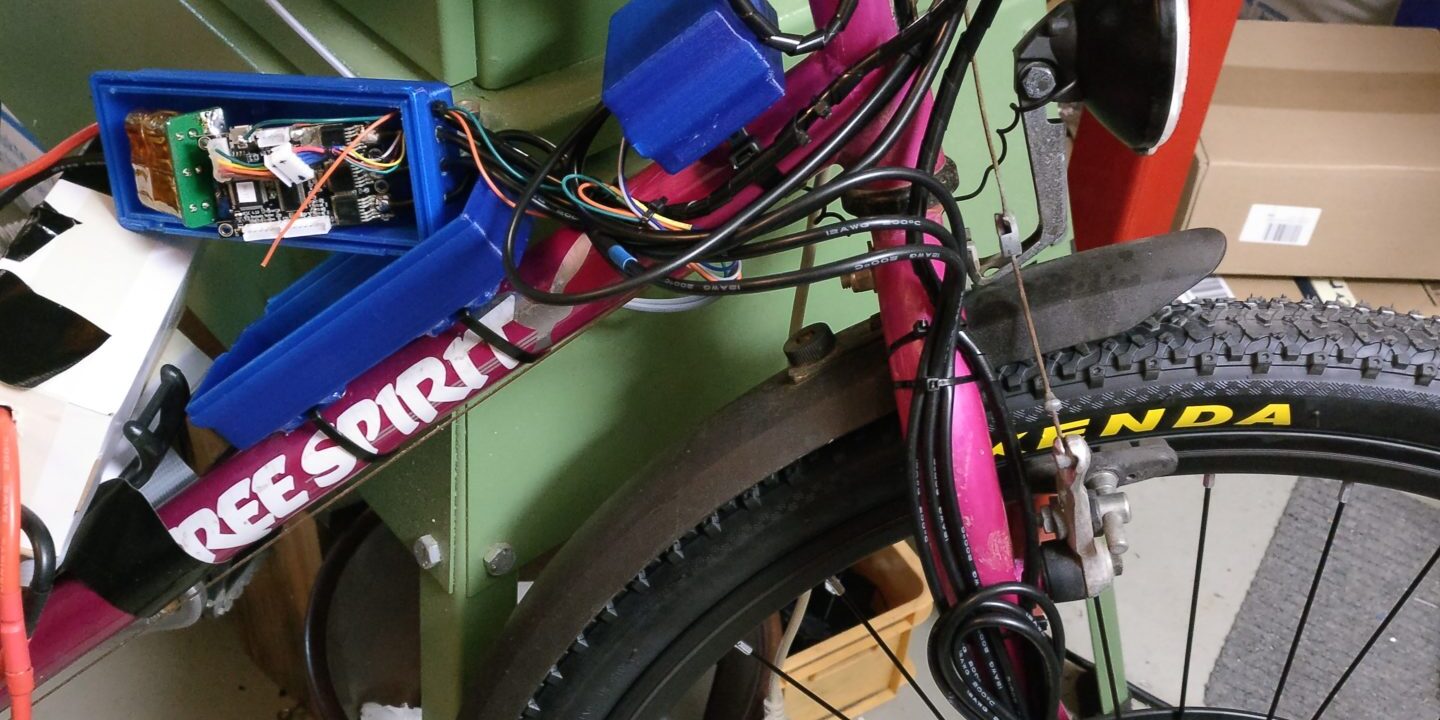
Most of my development efforts went into the hard- and software of the controller unit. It's mounted on the bike's handle bar, right in the middle. For this special purpose I designed 3D-printable mounts which allowed sliding on the case and then securely holding it in place.
The first image shows the second revision of the controller. This one already had many of the important features like:
- Speedometer
- Throttle level display
- Clock
- Battery charge status
- Speed and distance statistics
- Outside temperature measurement
- RFID identification for unlocking
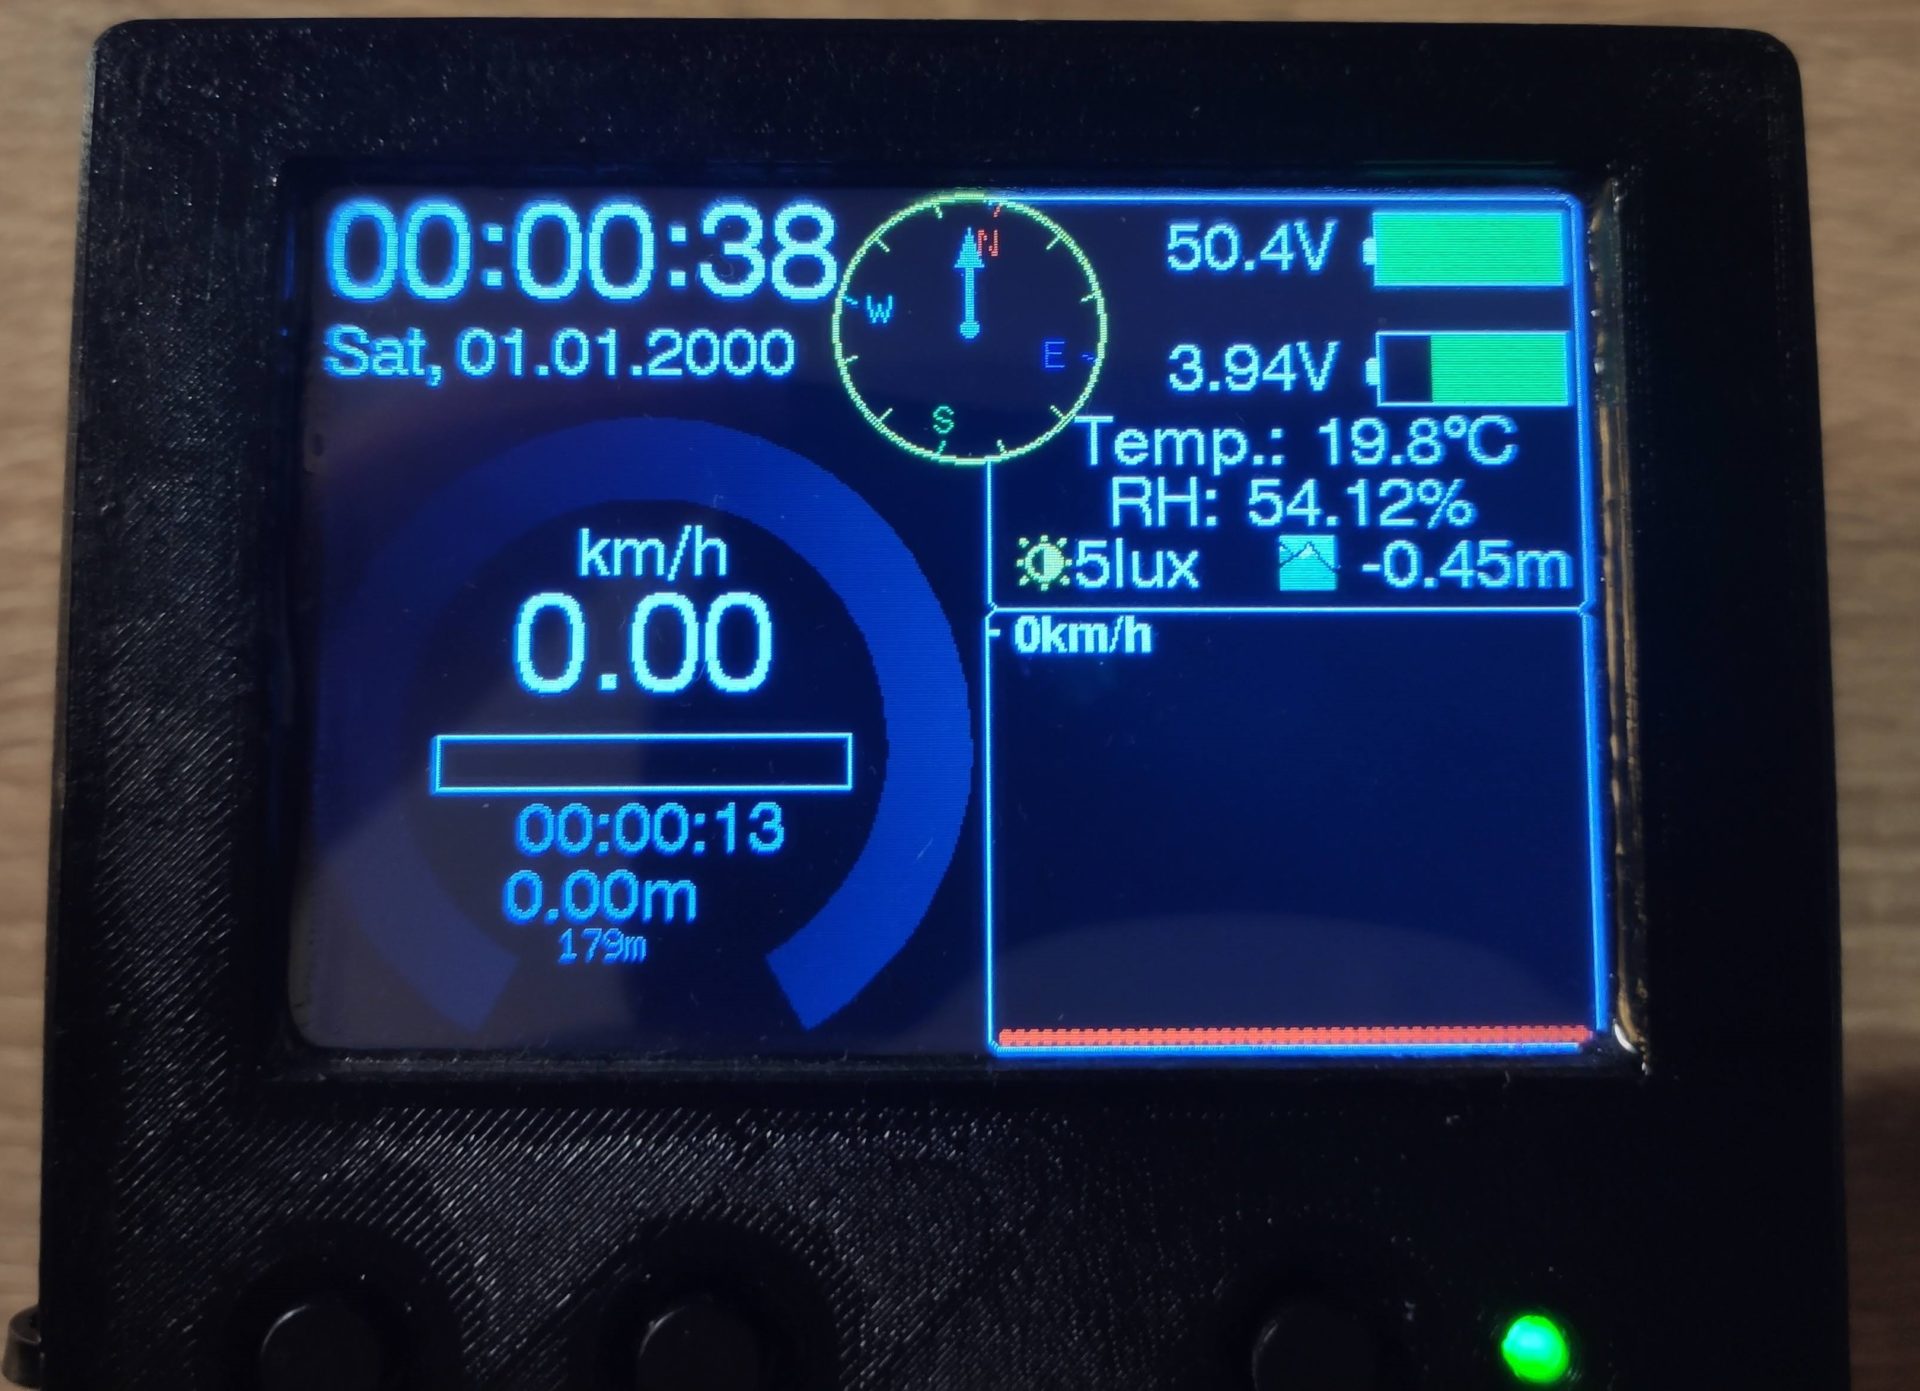
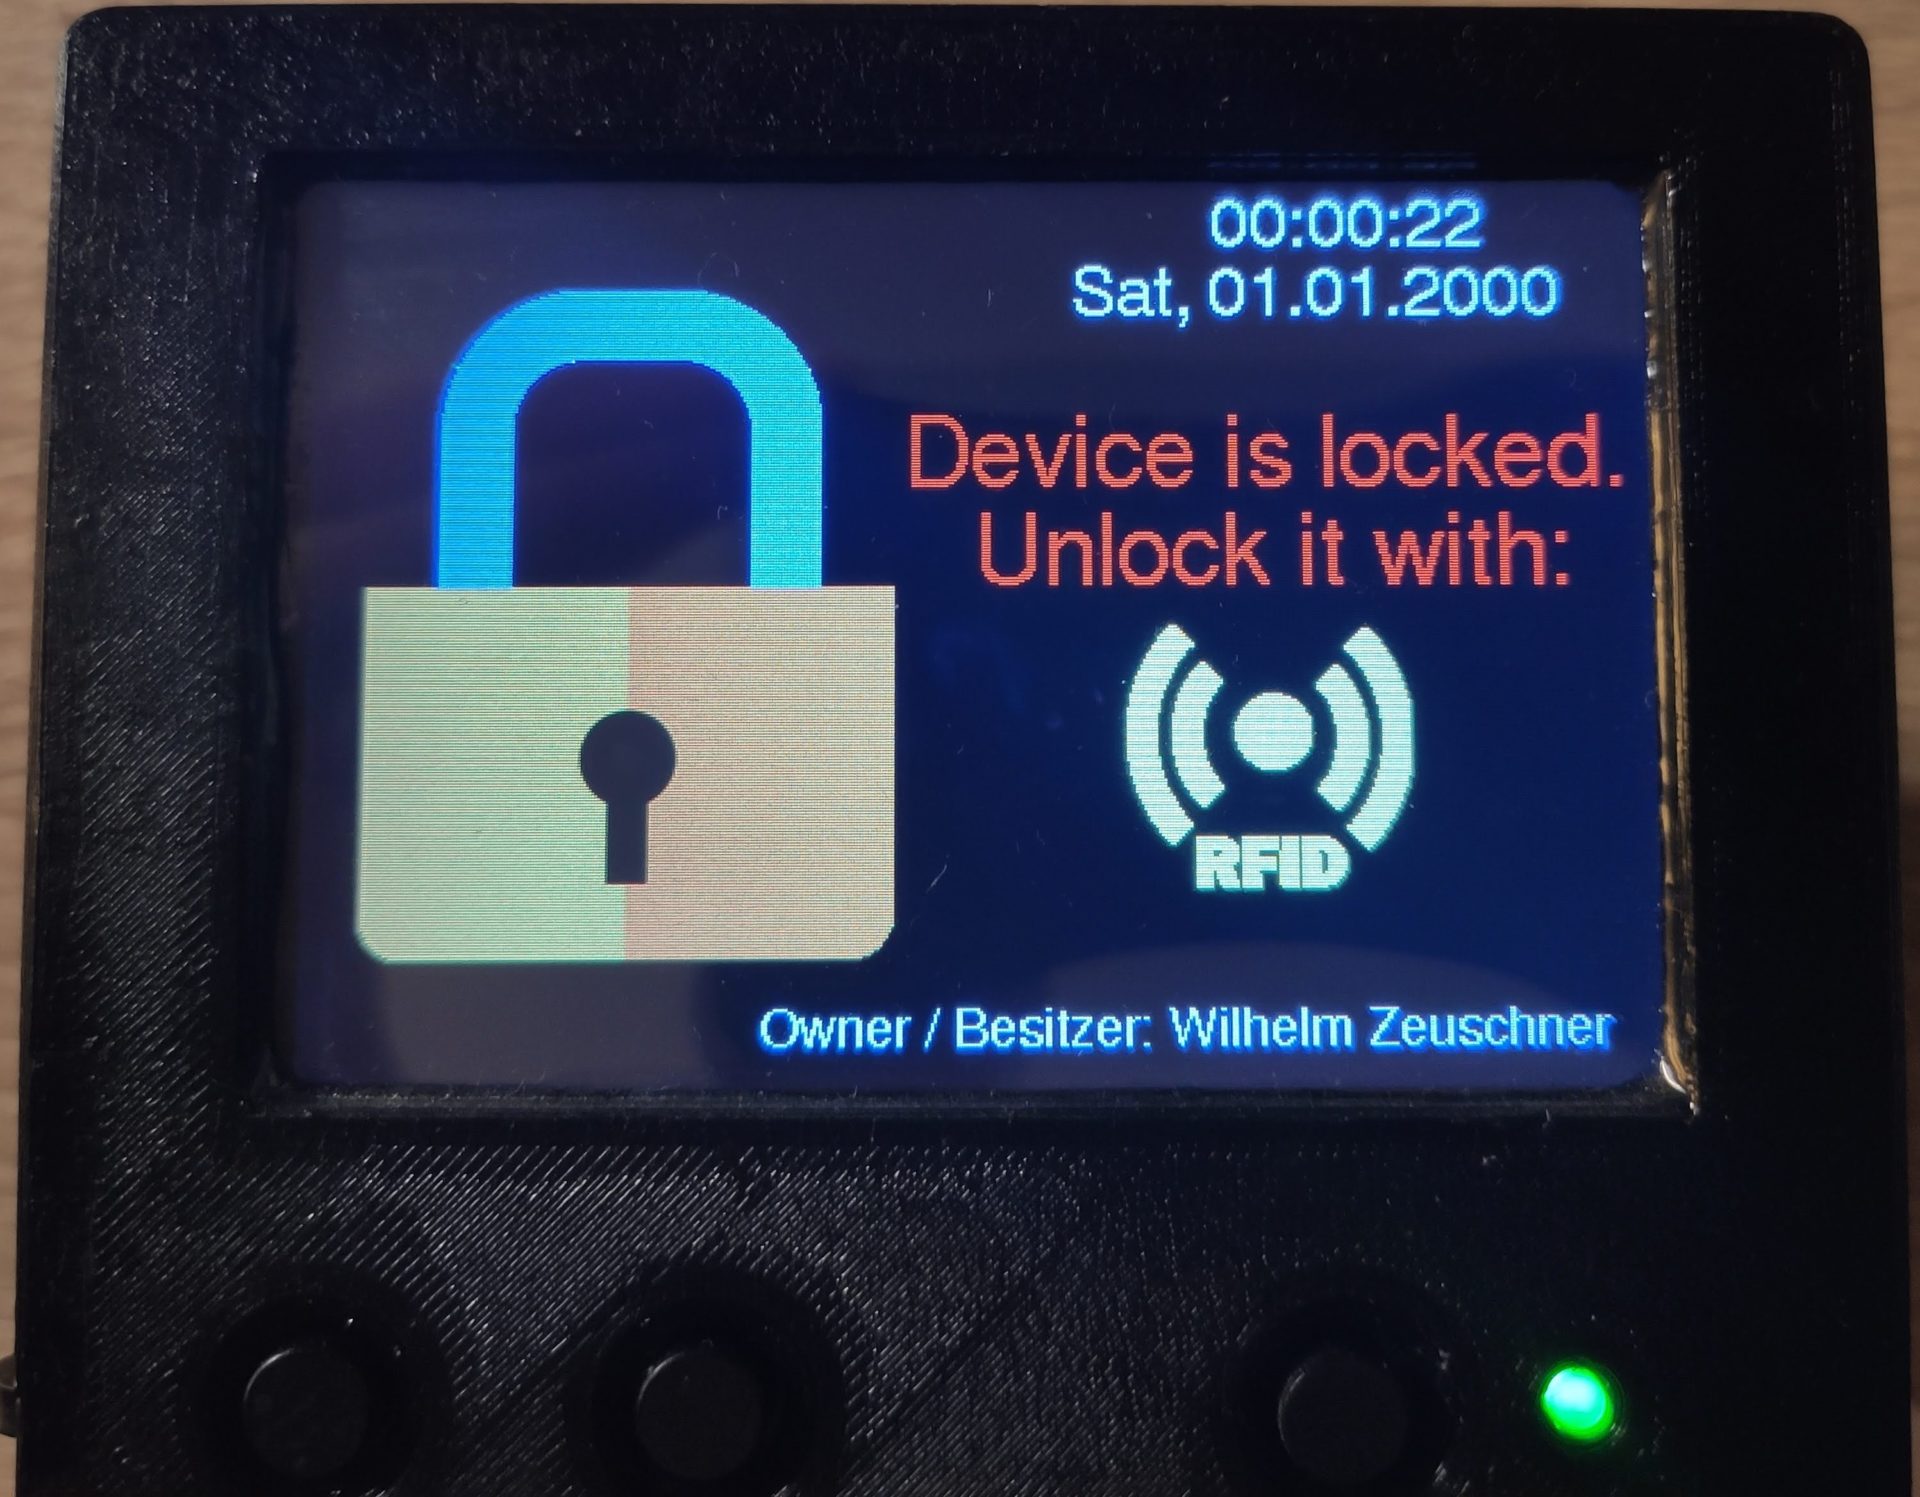
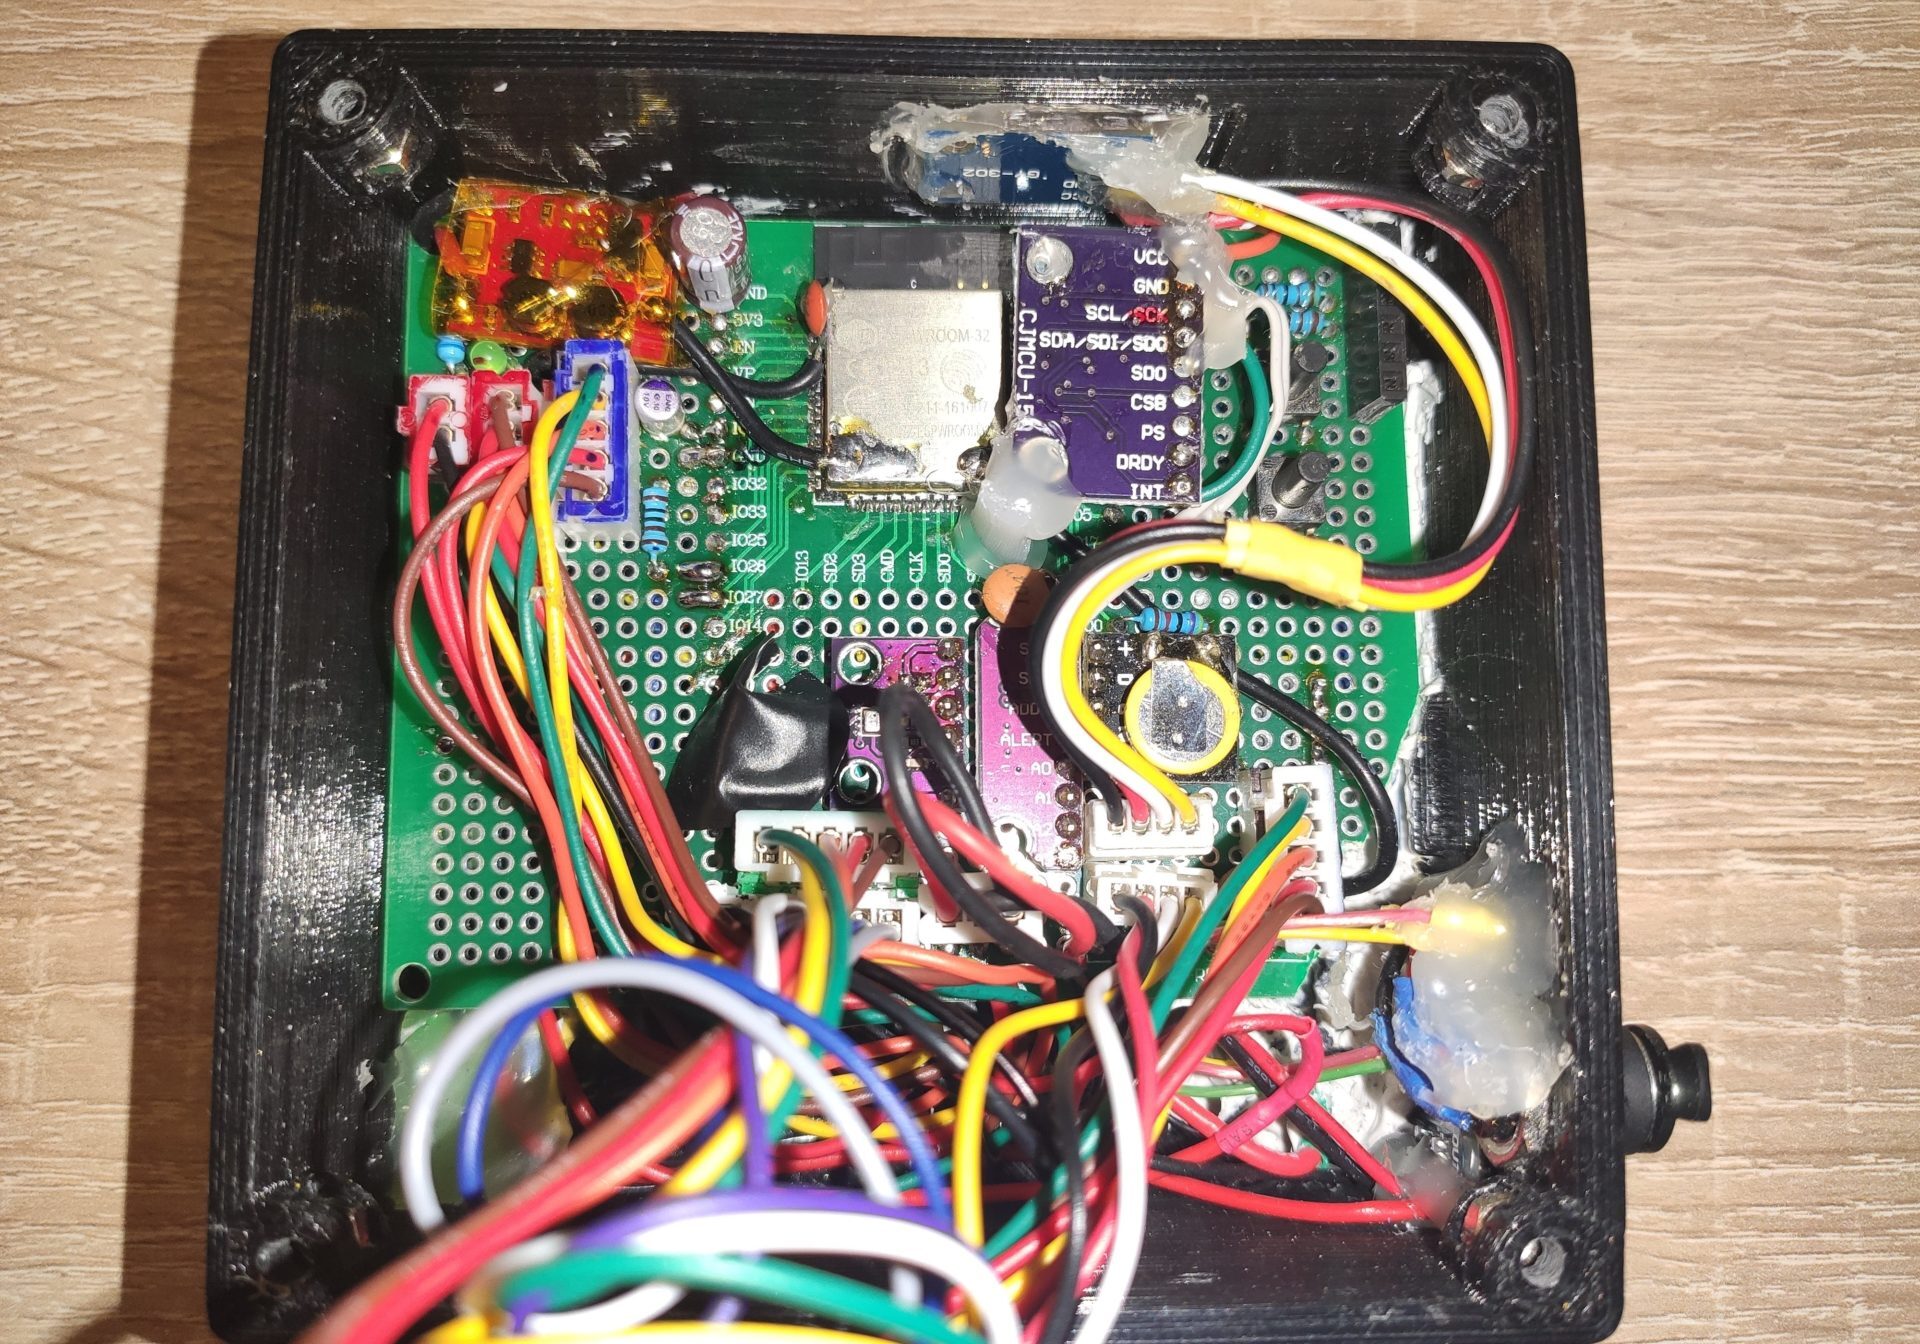
The third and final revision improved many things, especially visually. The screen now had touch and a higher resolution.
Here's a list of the new features
- Touchscreen
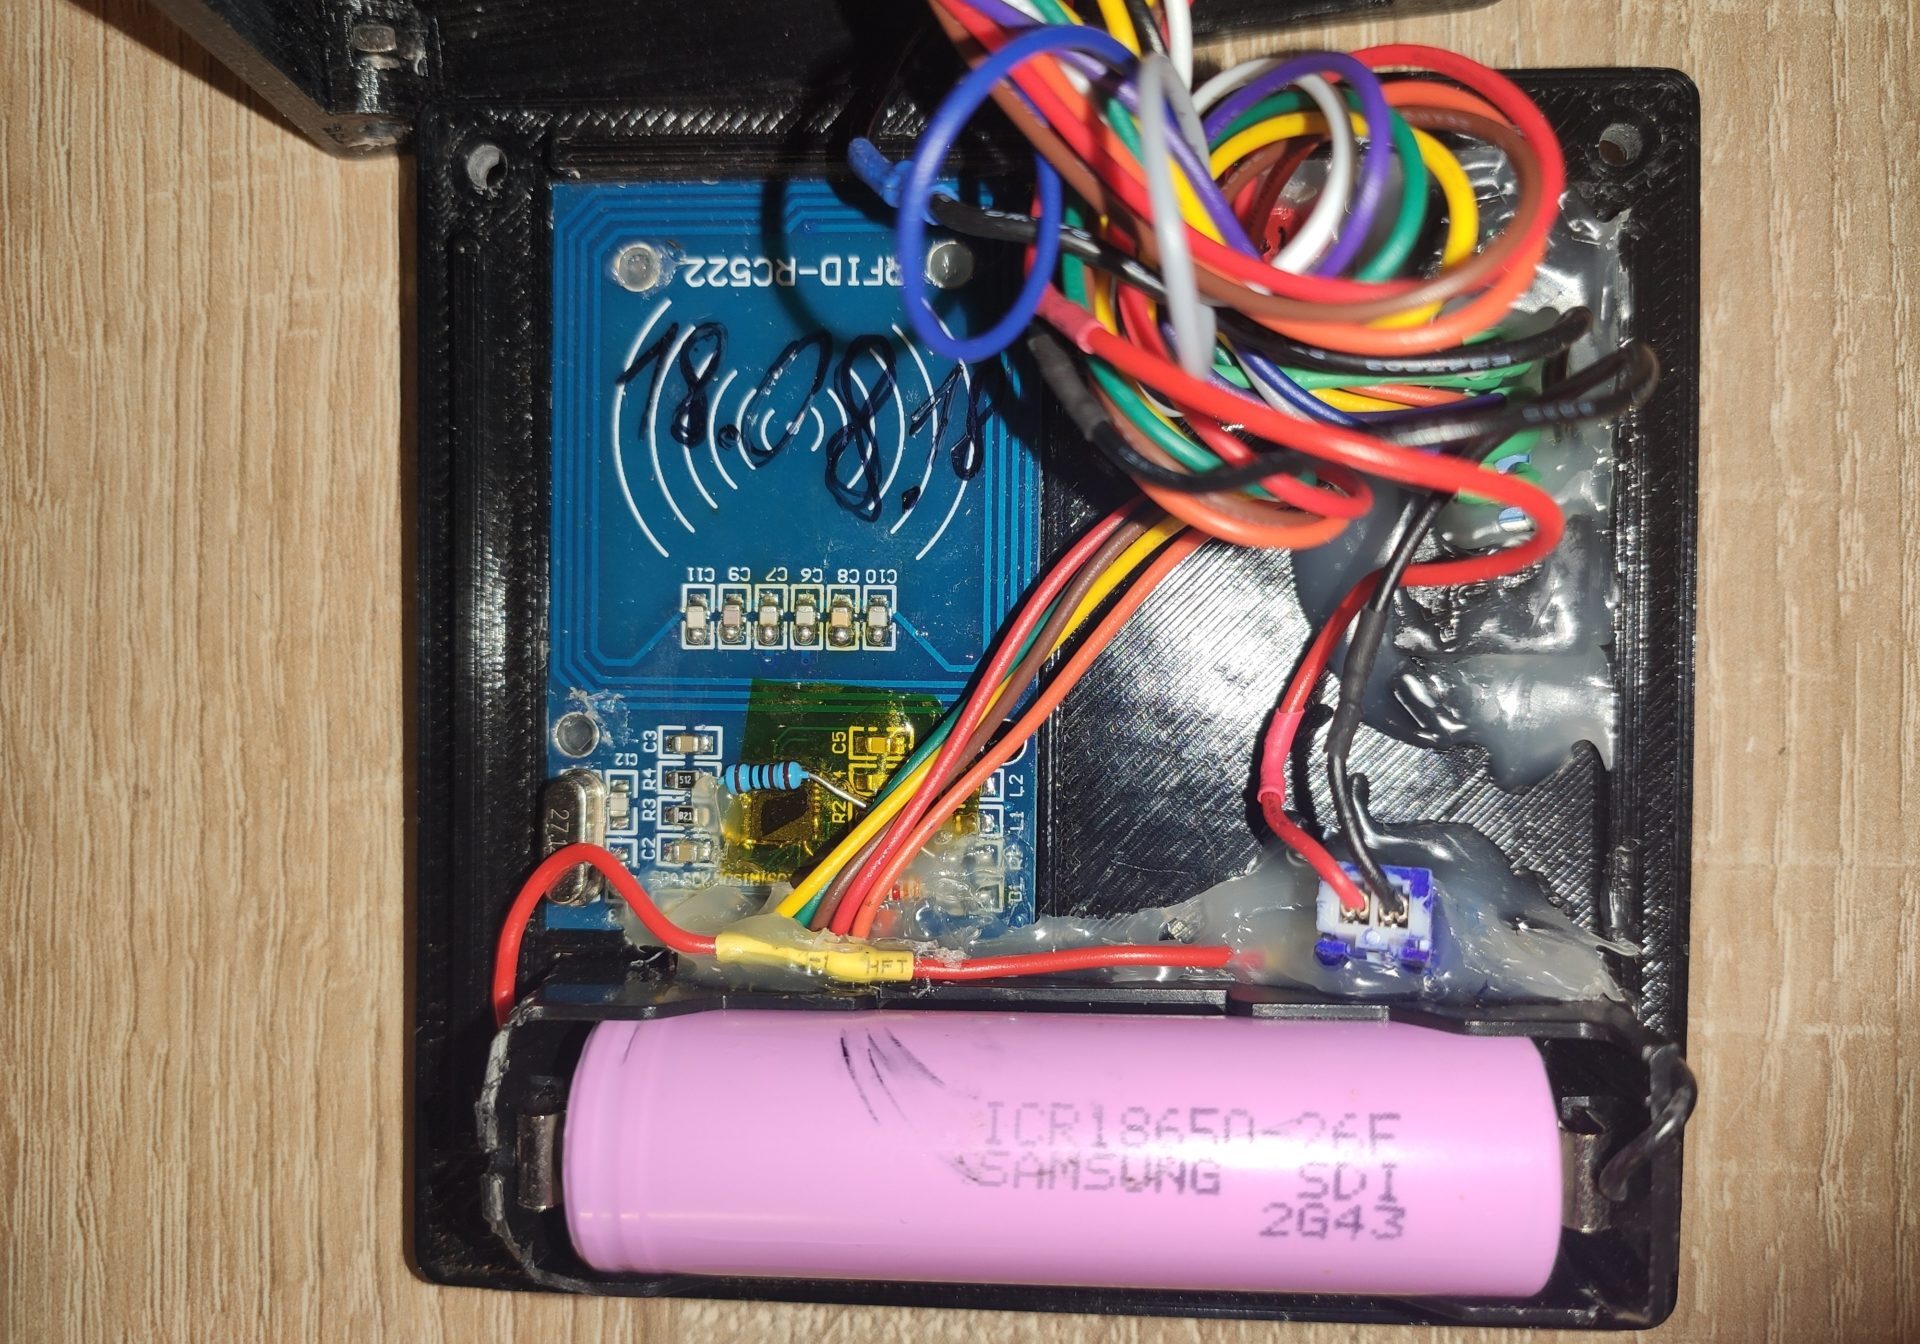
- Better RFID
- Compass
- Humidity sensor
- Lux sensor
- Air pressure sensor
- UI improvements
An air pressure sensor was used to calculate the relative altitude change over a trip, which could be displayed in the stats window in the lower right corner.
The insides were not exactly the most organized by any measure - but already much better than the previous revisions.
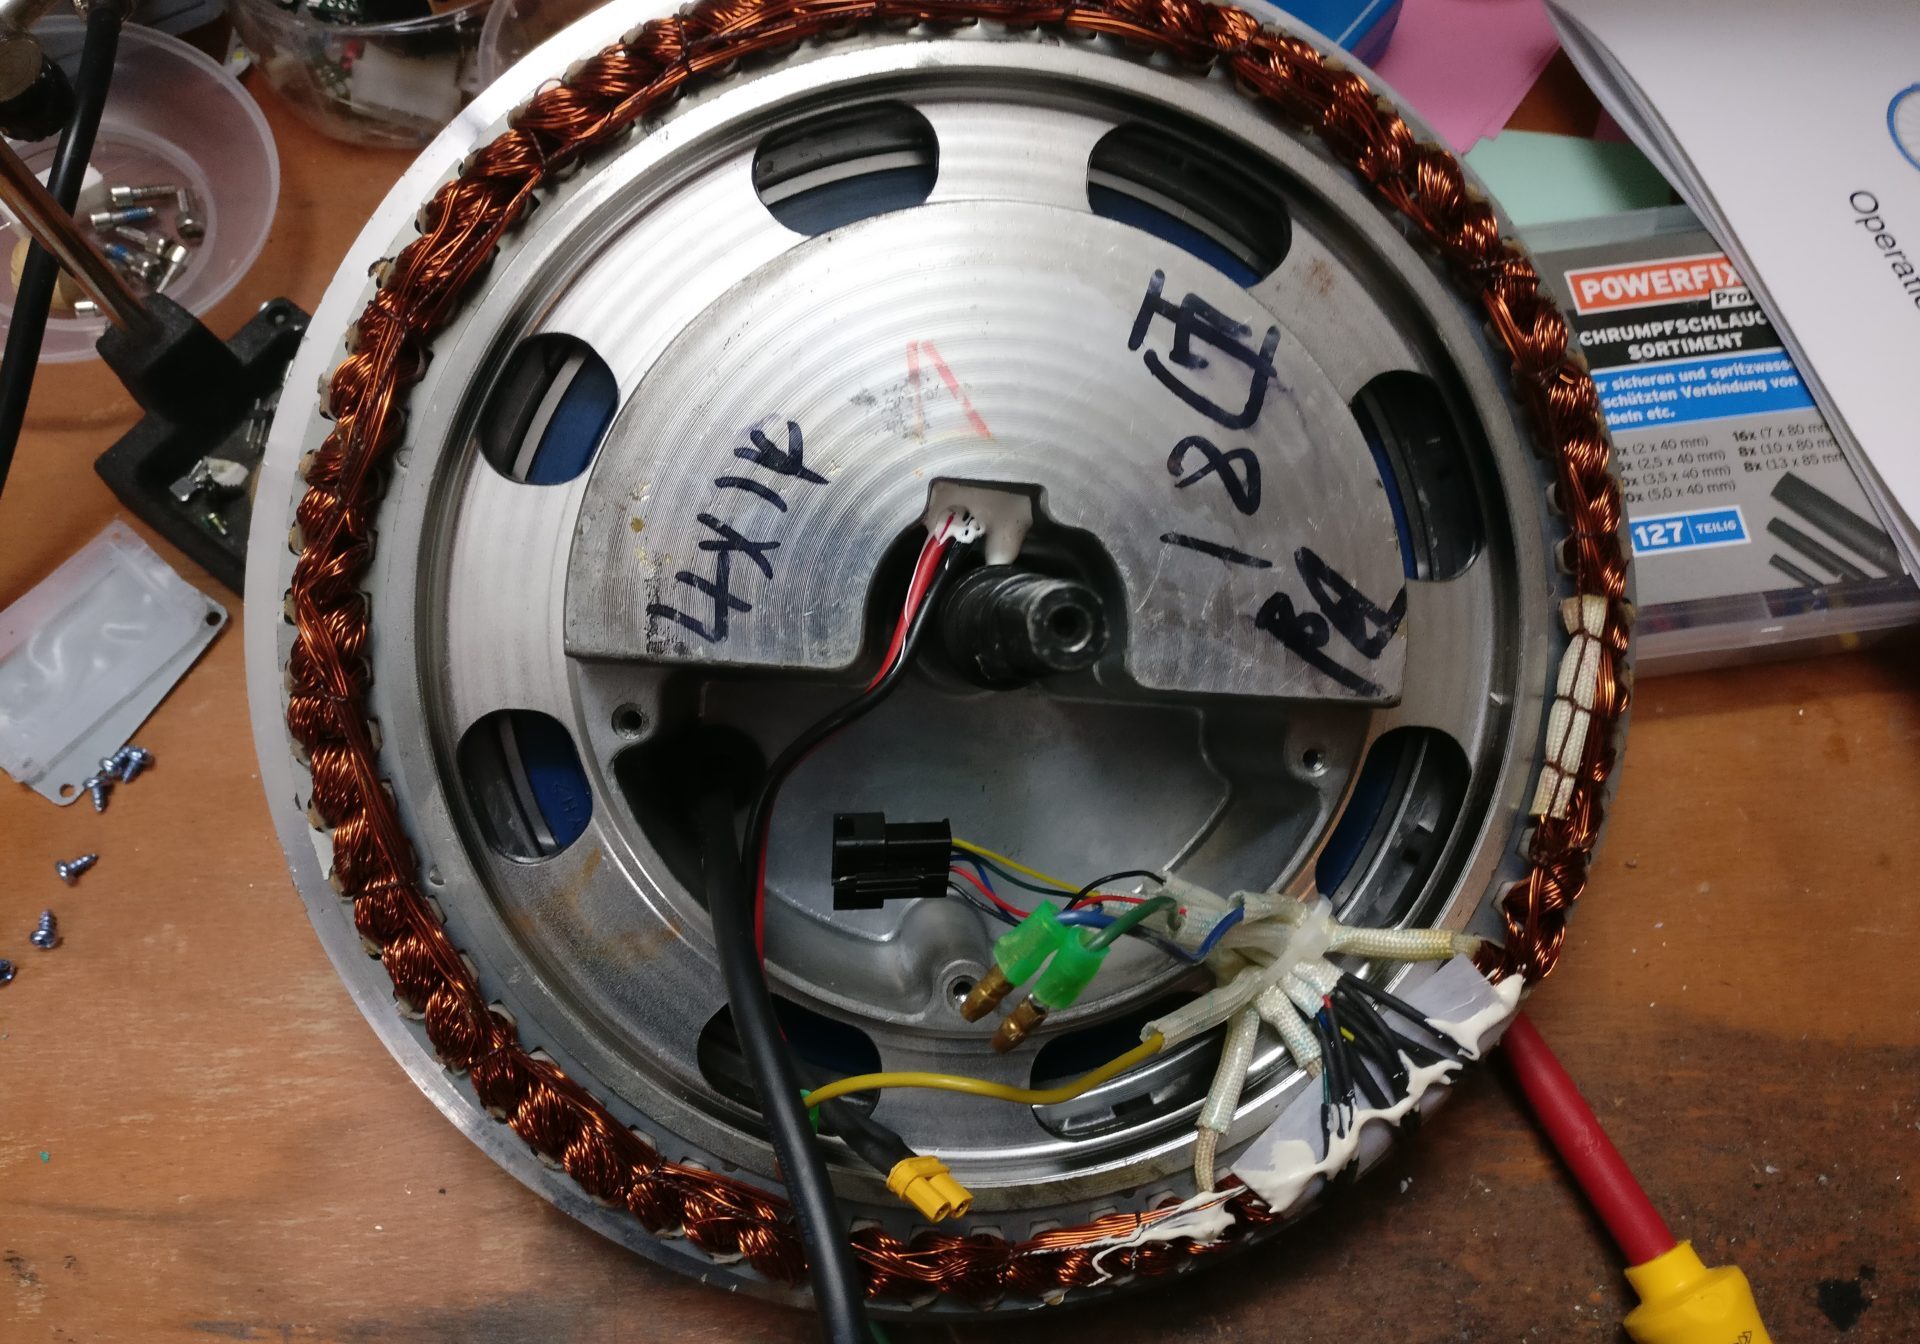
The bike has a front hub motor (3 phases, brushless, with sensors) that can get up to 30km/h with a fully charged 12S LiPo battery. A VESC controls the motor.
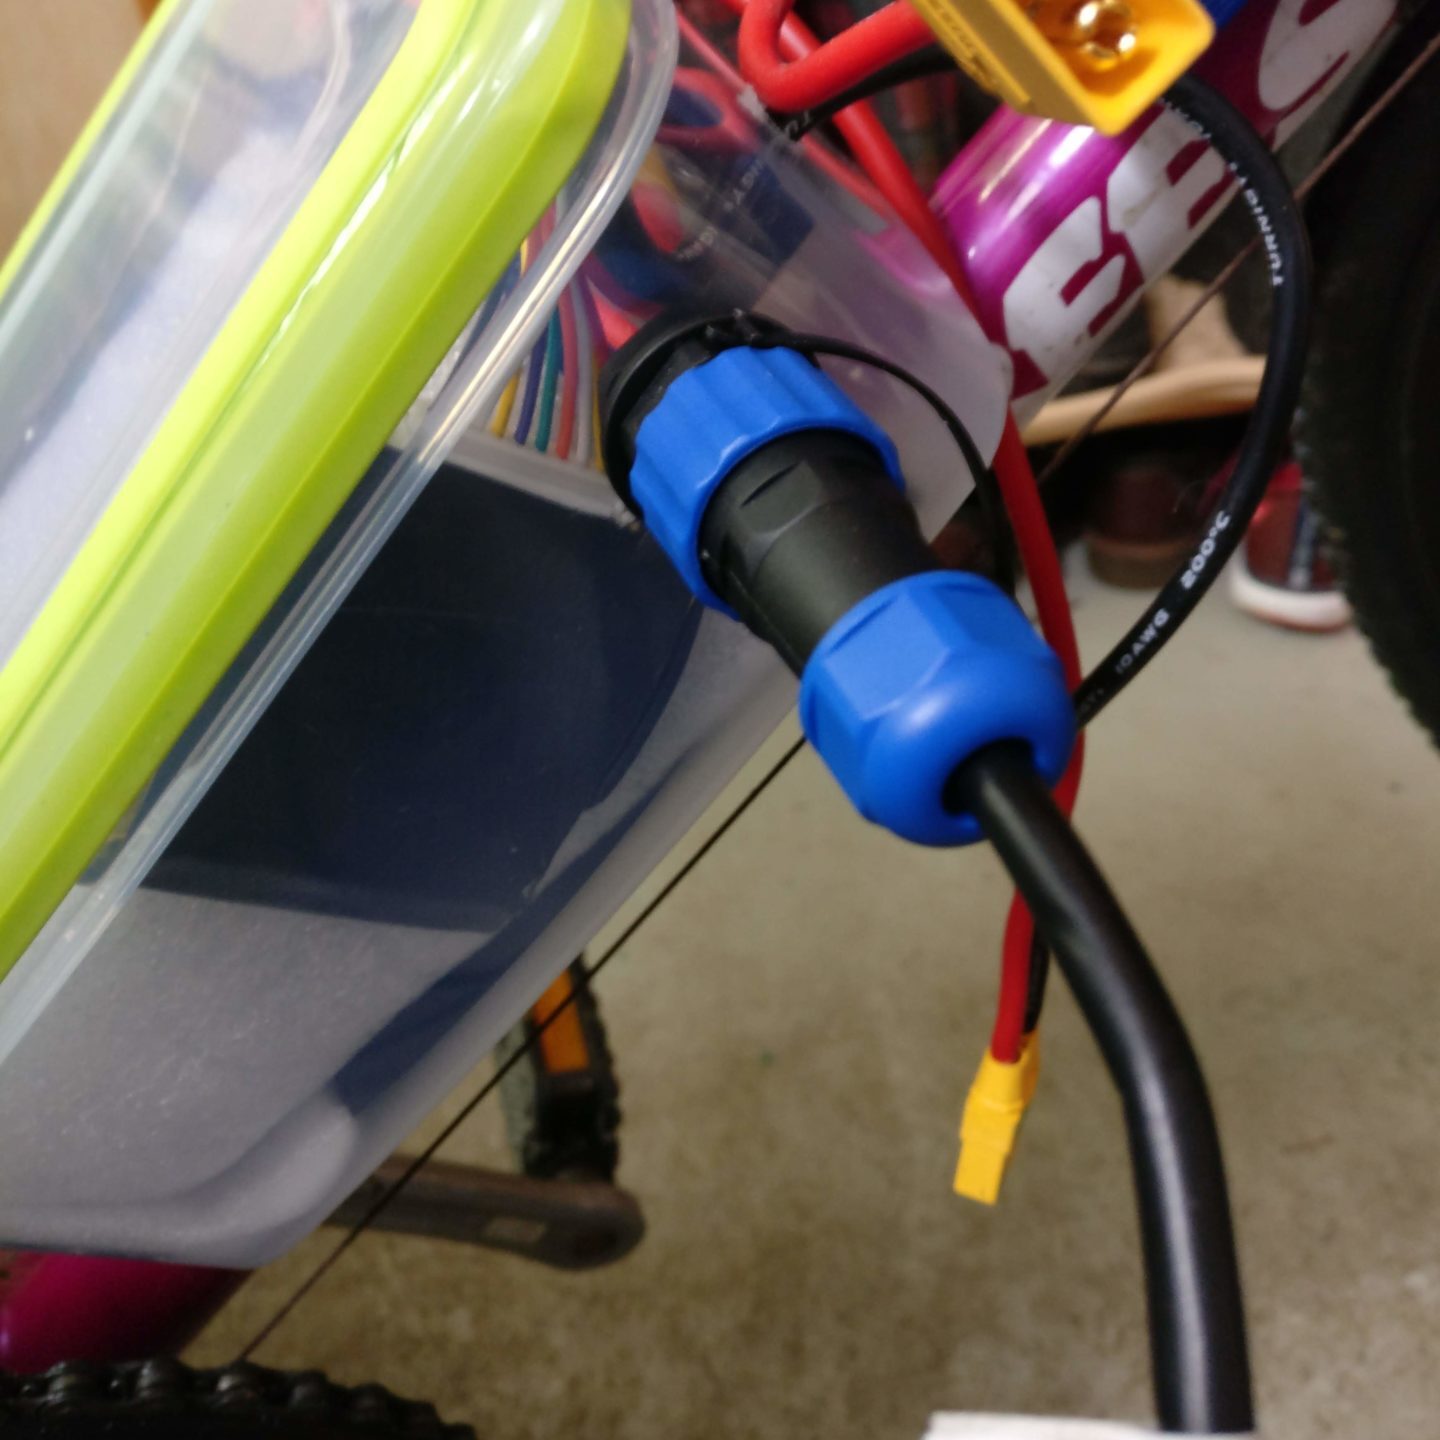
I built the battery pack myself. Starting with a 10S 5Ah battery, I later decided to upgrade to a 12S 5Ah battery, mostly for the added speed.
A water tight food container was used as a case for the cells.
LiPo batteries are pretty scary since they have such a high energy density and have pretty reactive chemistry. That's why I integrated a BMS into the battery pack to protect it during charging and balance the cells.
To charge the pack, I used a dedicated 200W charger.
Unfortunately the (peak) discharge currents, during acceleration for example, were too high for basically any BMS. To avoid over-discharging the battery, the VESC monitors the battery voltage and switches off if it drops too low.
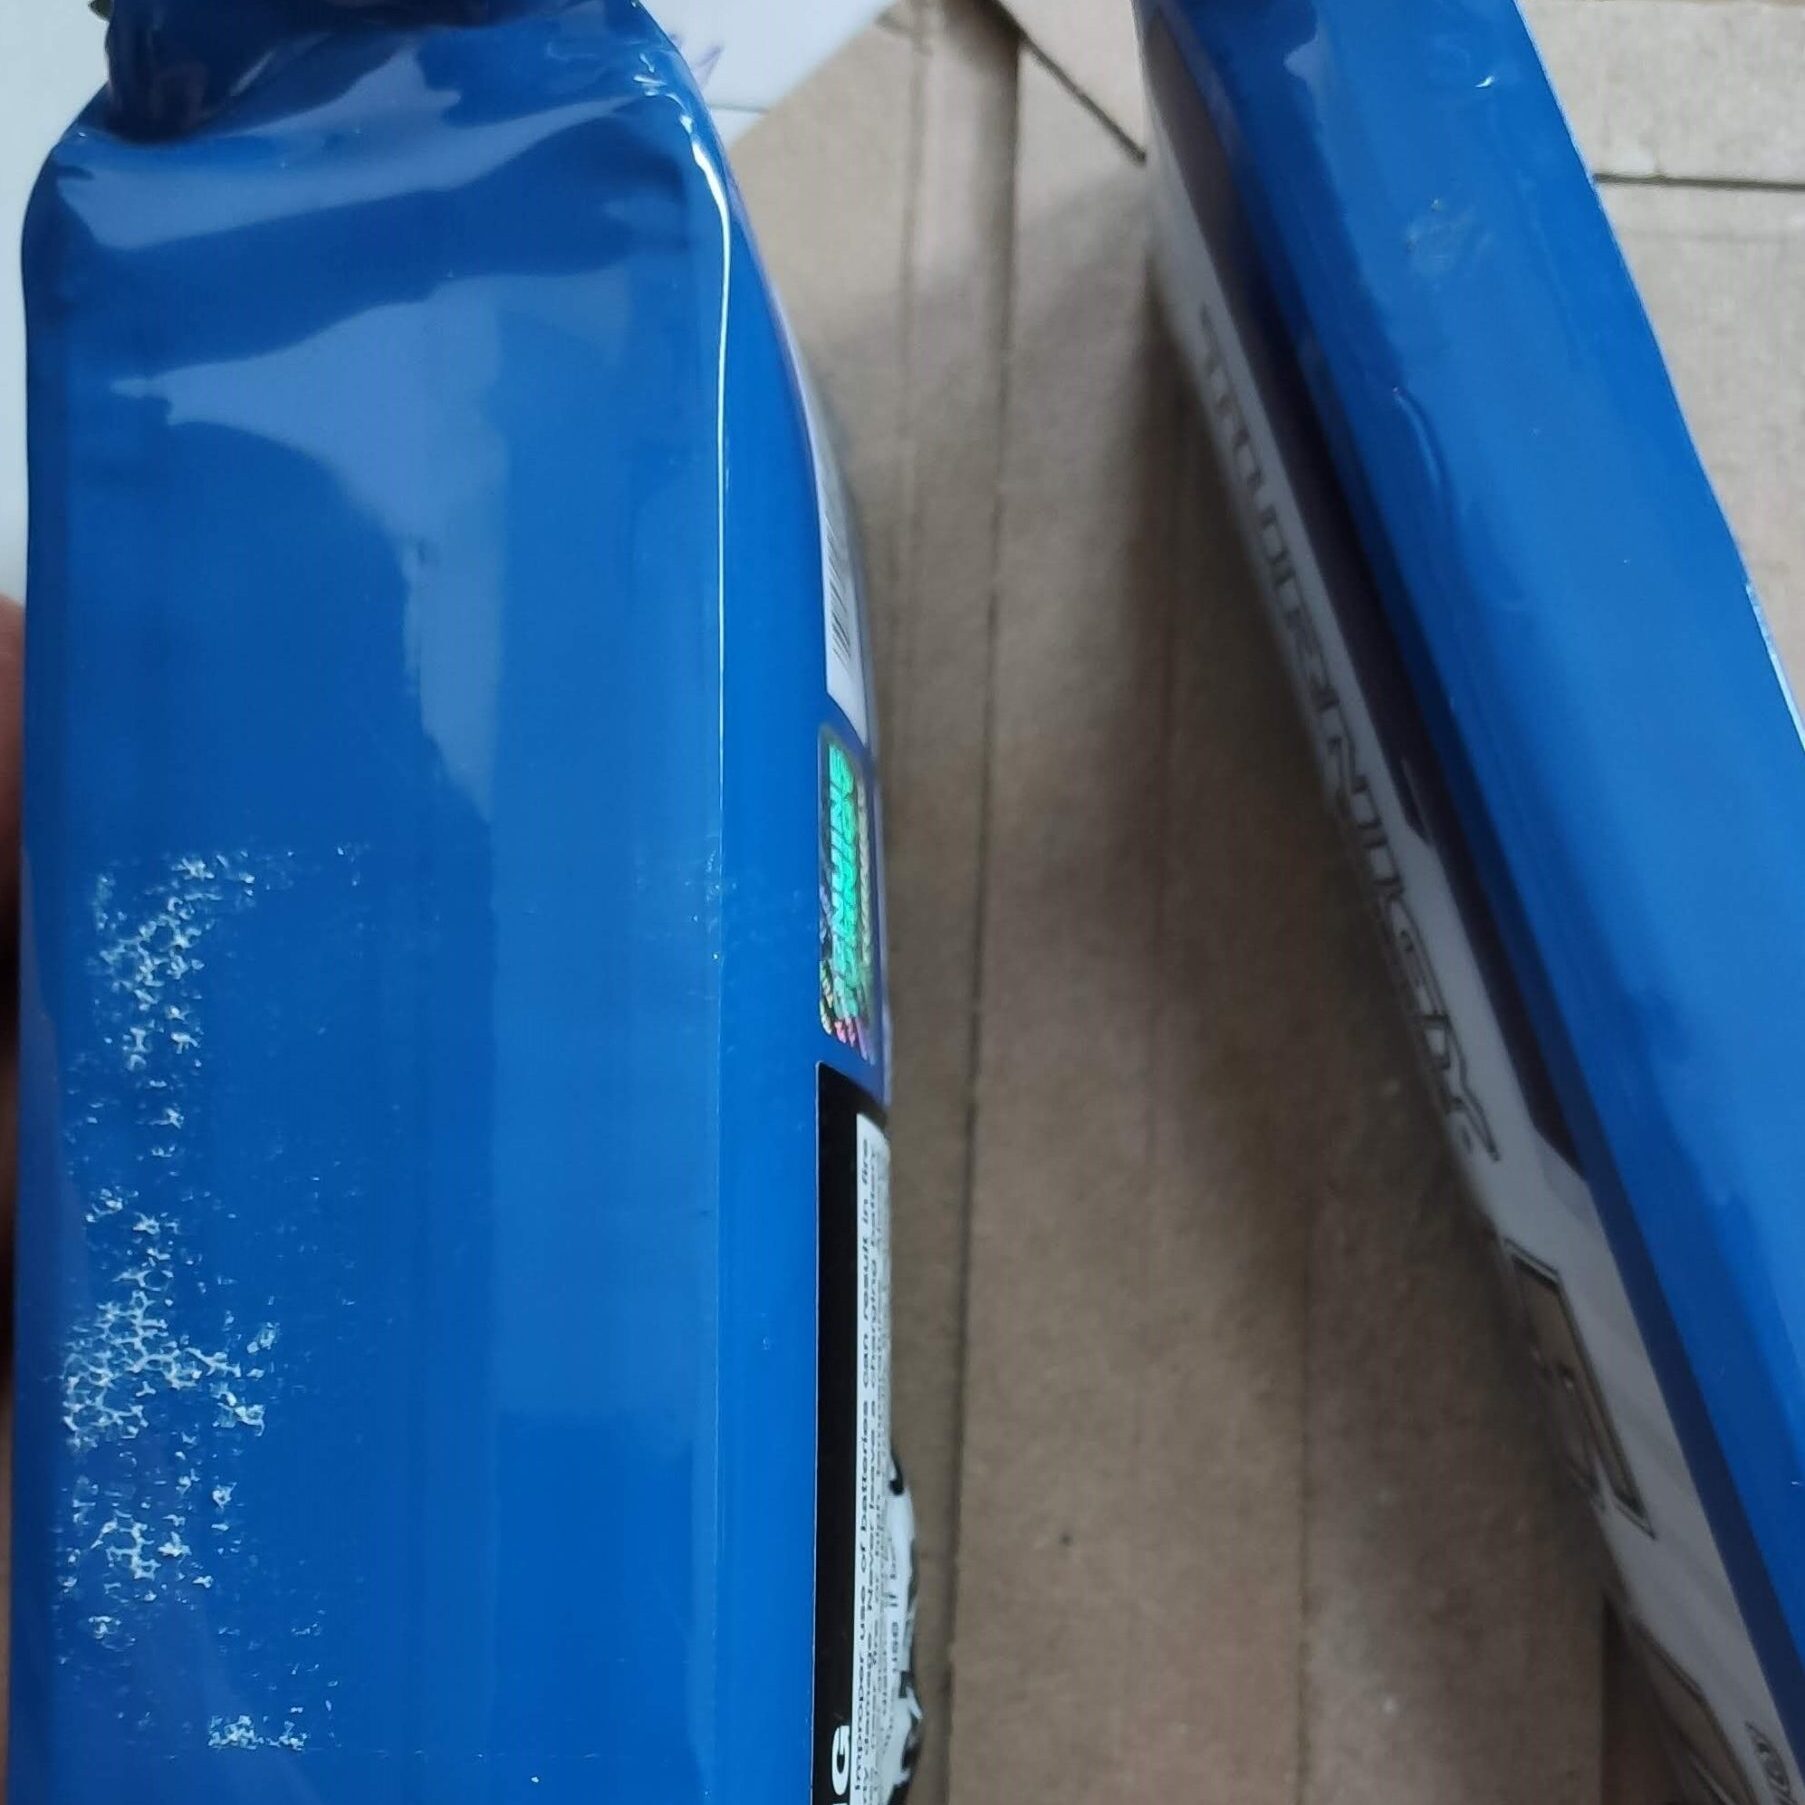
Update on the batteries (2021): I haven't used or charged them in over a year. The batteries became very puffy and I had to discard them to avoid any sort of hazard.
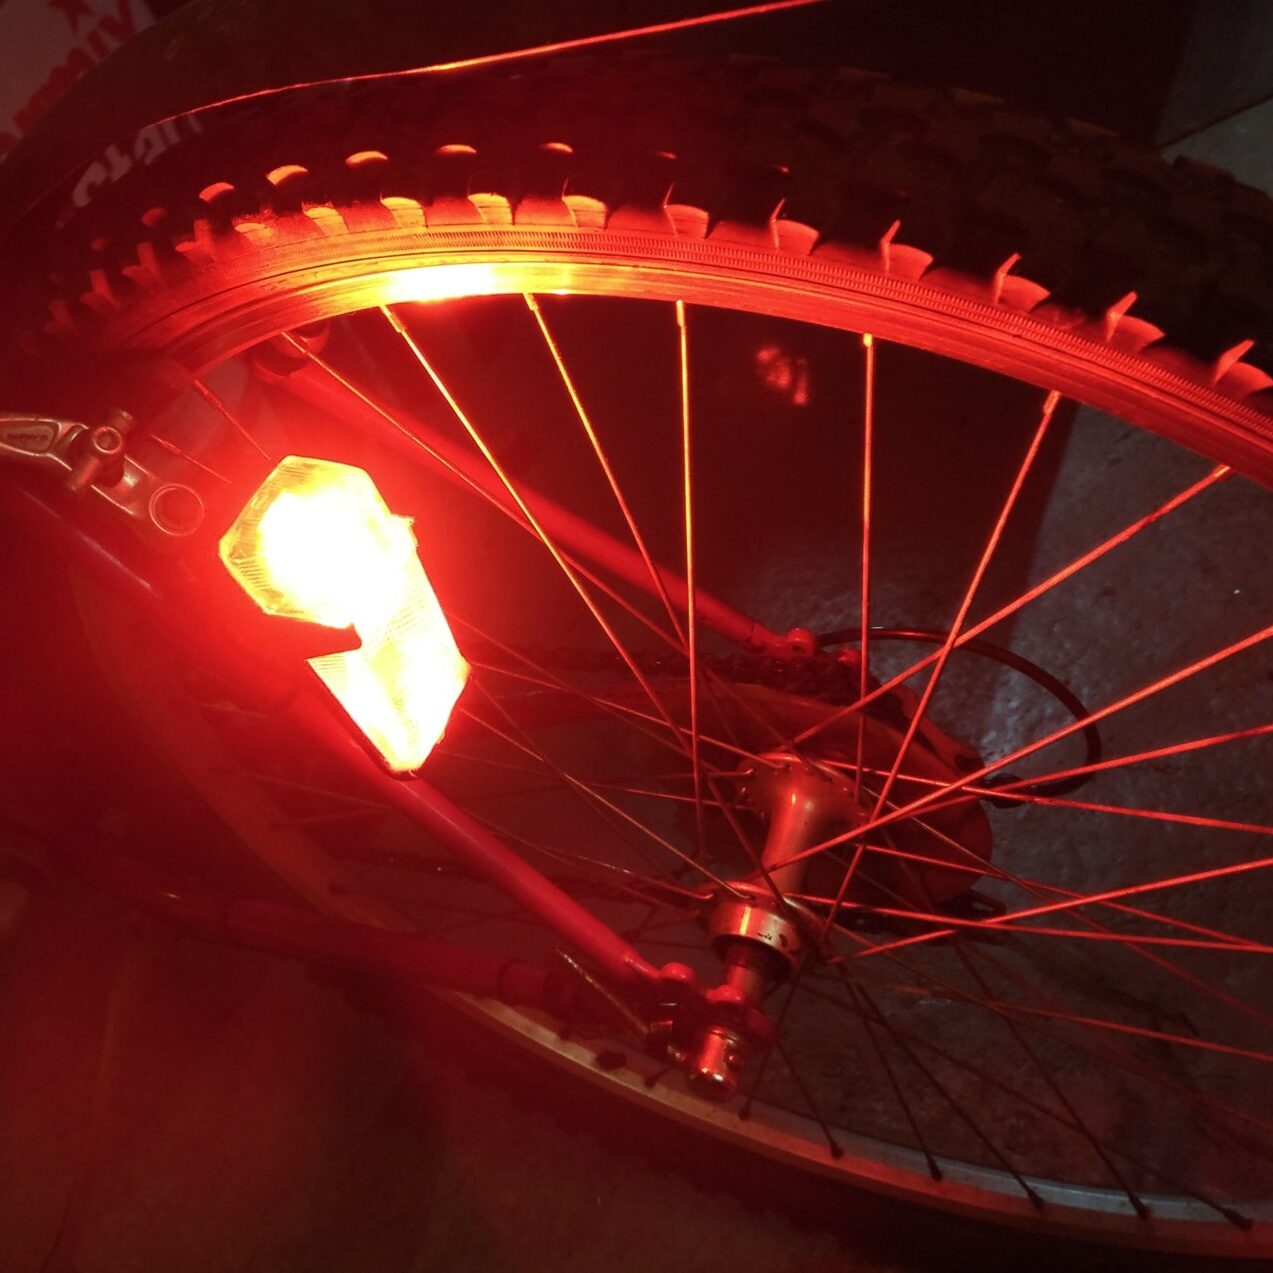
Lights - very important to be seen, especially if you are much smaller a car!
Both the front and back light were modified. The original case was used but the internals were exchanged for LEDs.
Firmware
The firmware was written in the Arduino IDE.
Back when I wrote it, I had no idea how to write good code. That's why I won't publish it.
Surprisingly, even to me, I never had any issues with my messy code though. 👍
Images
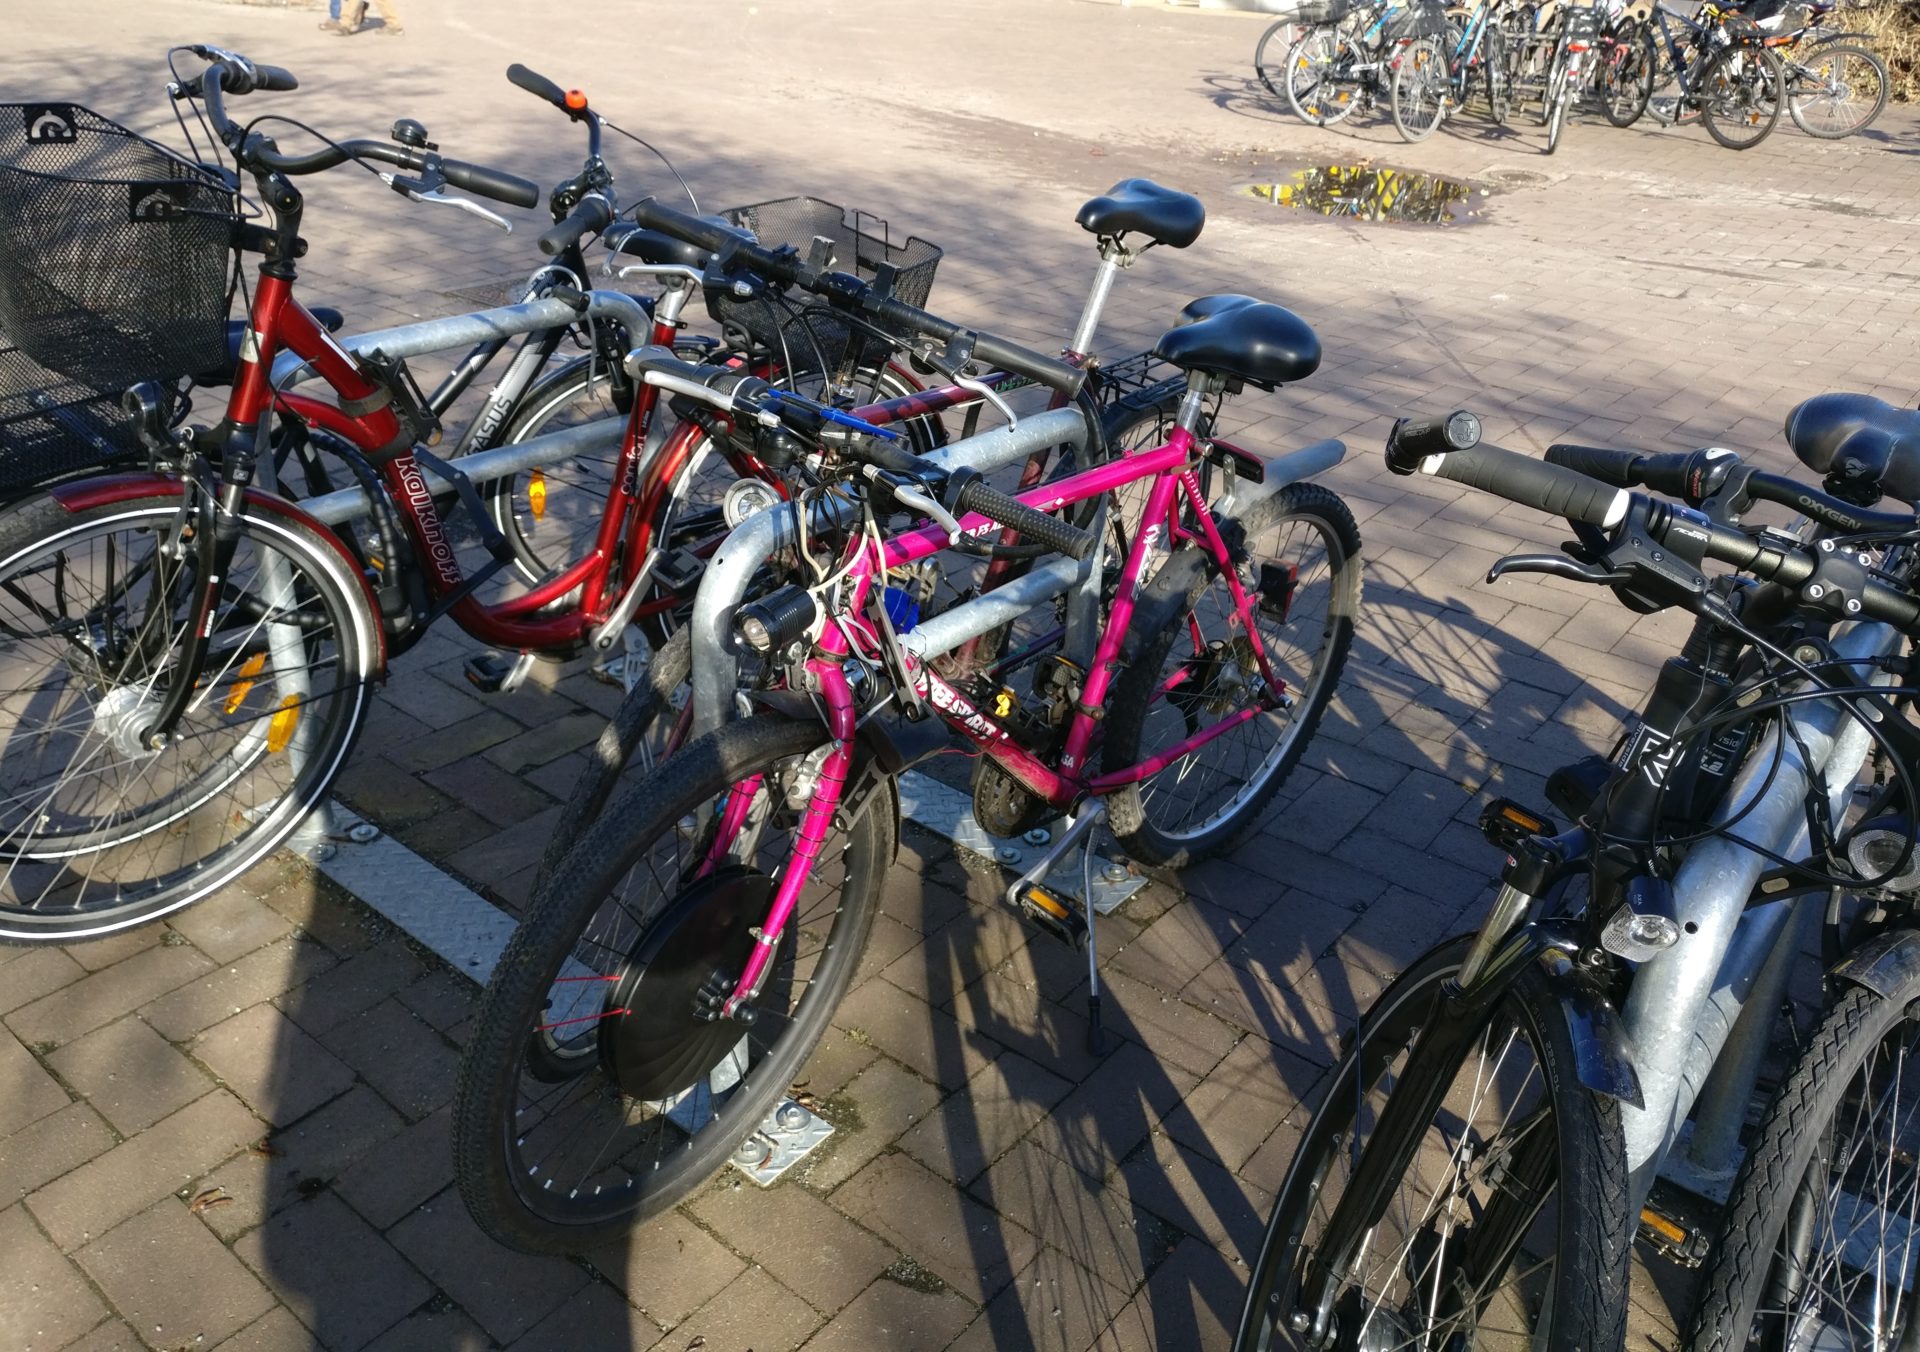
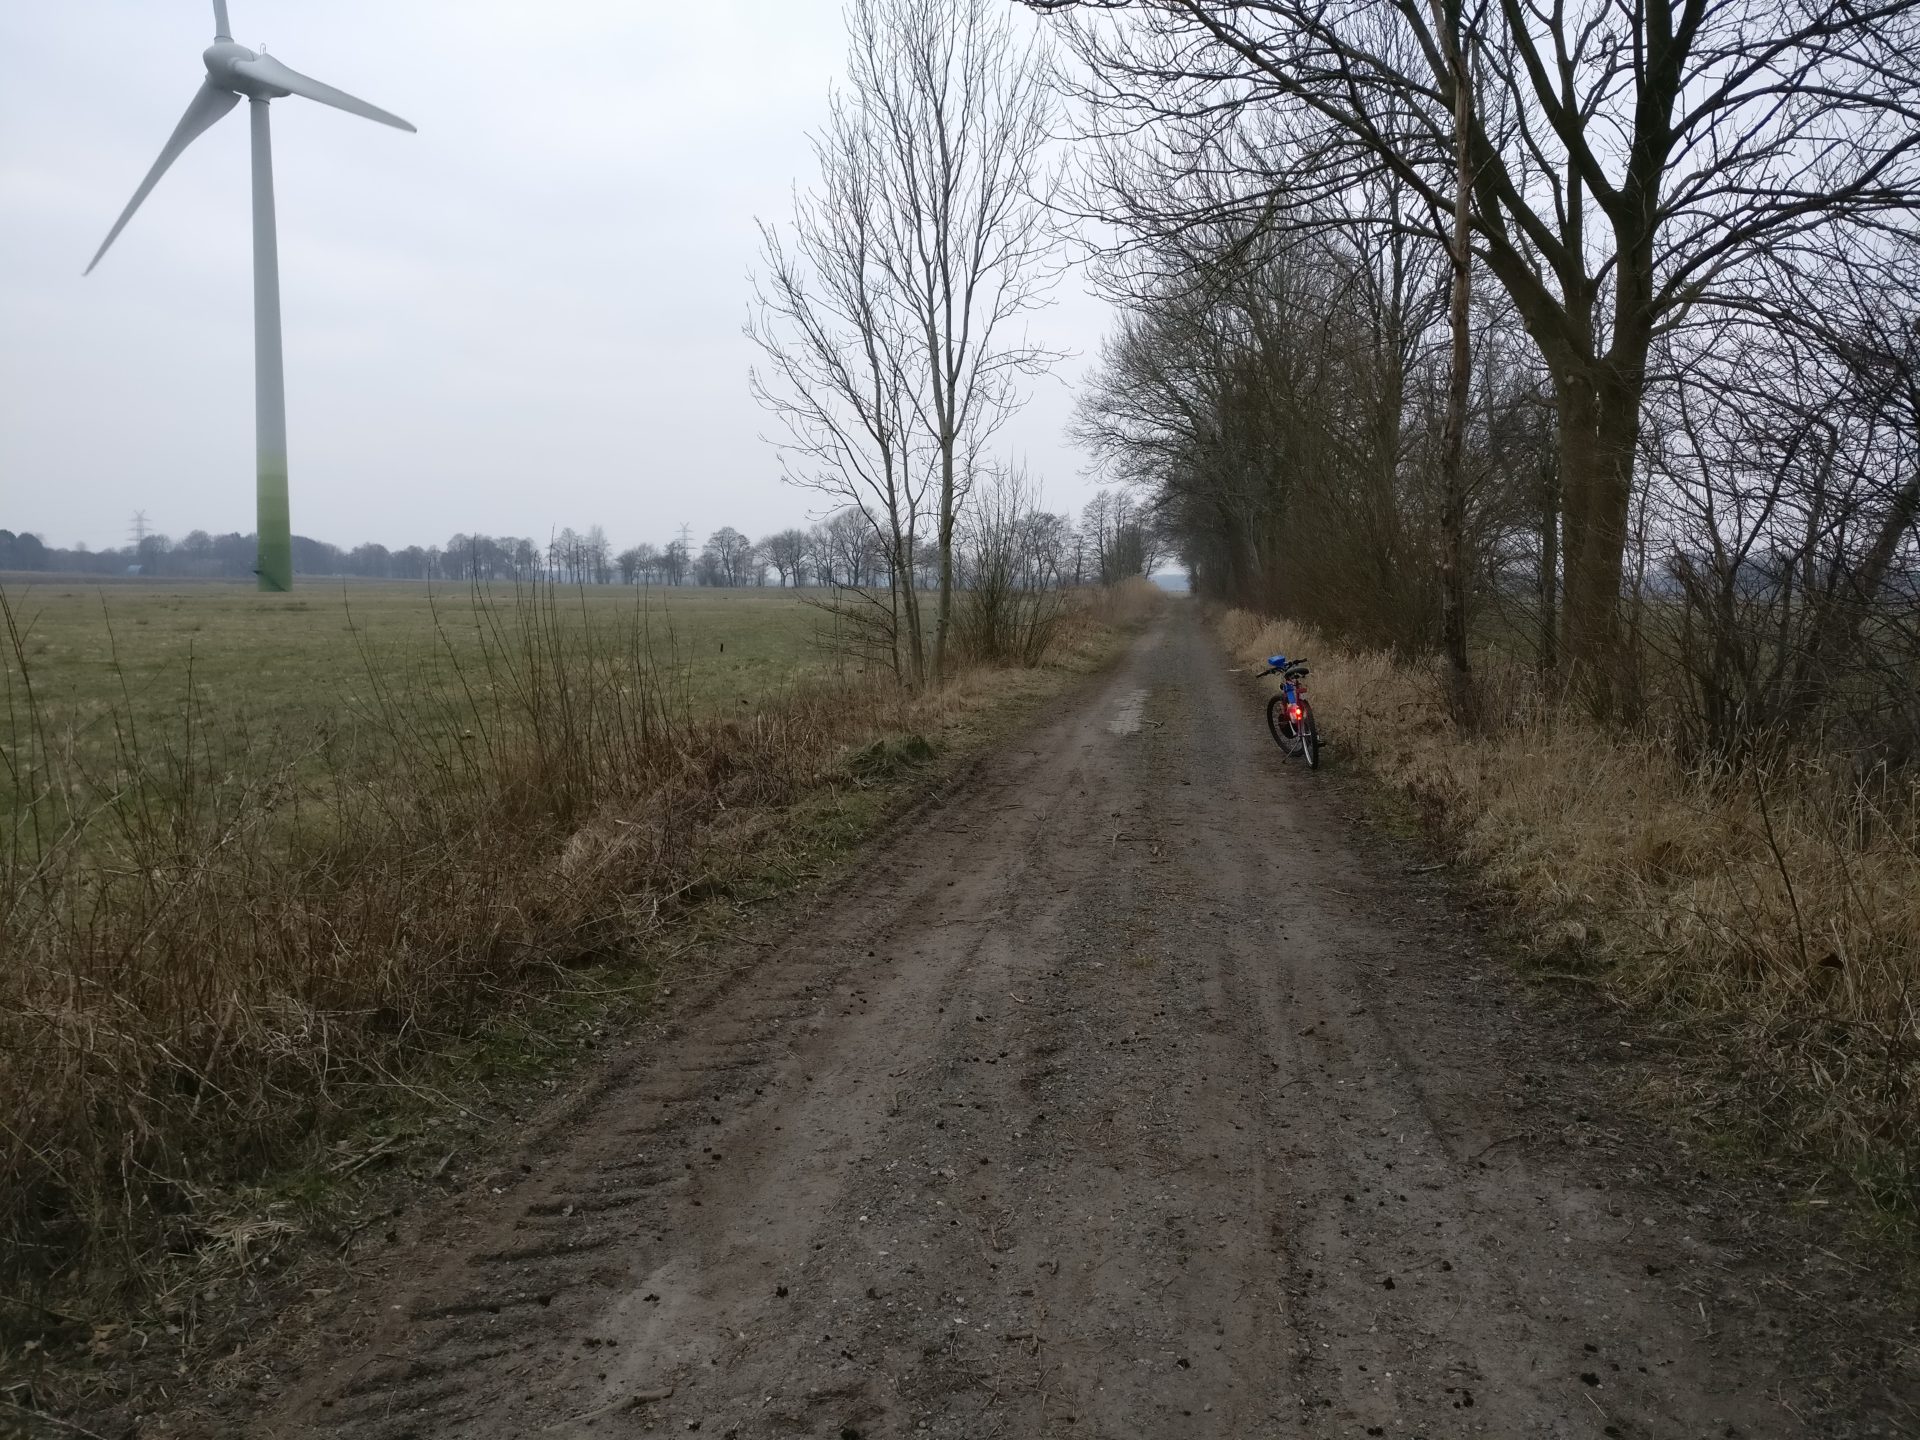
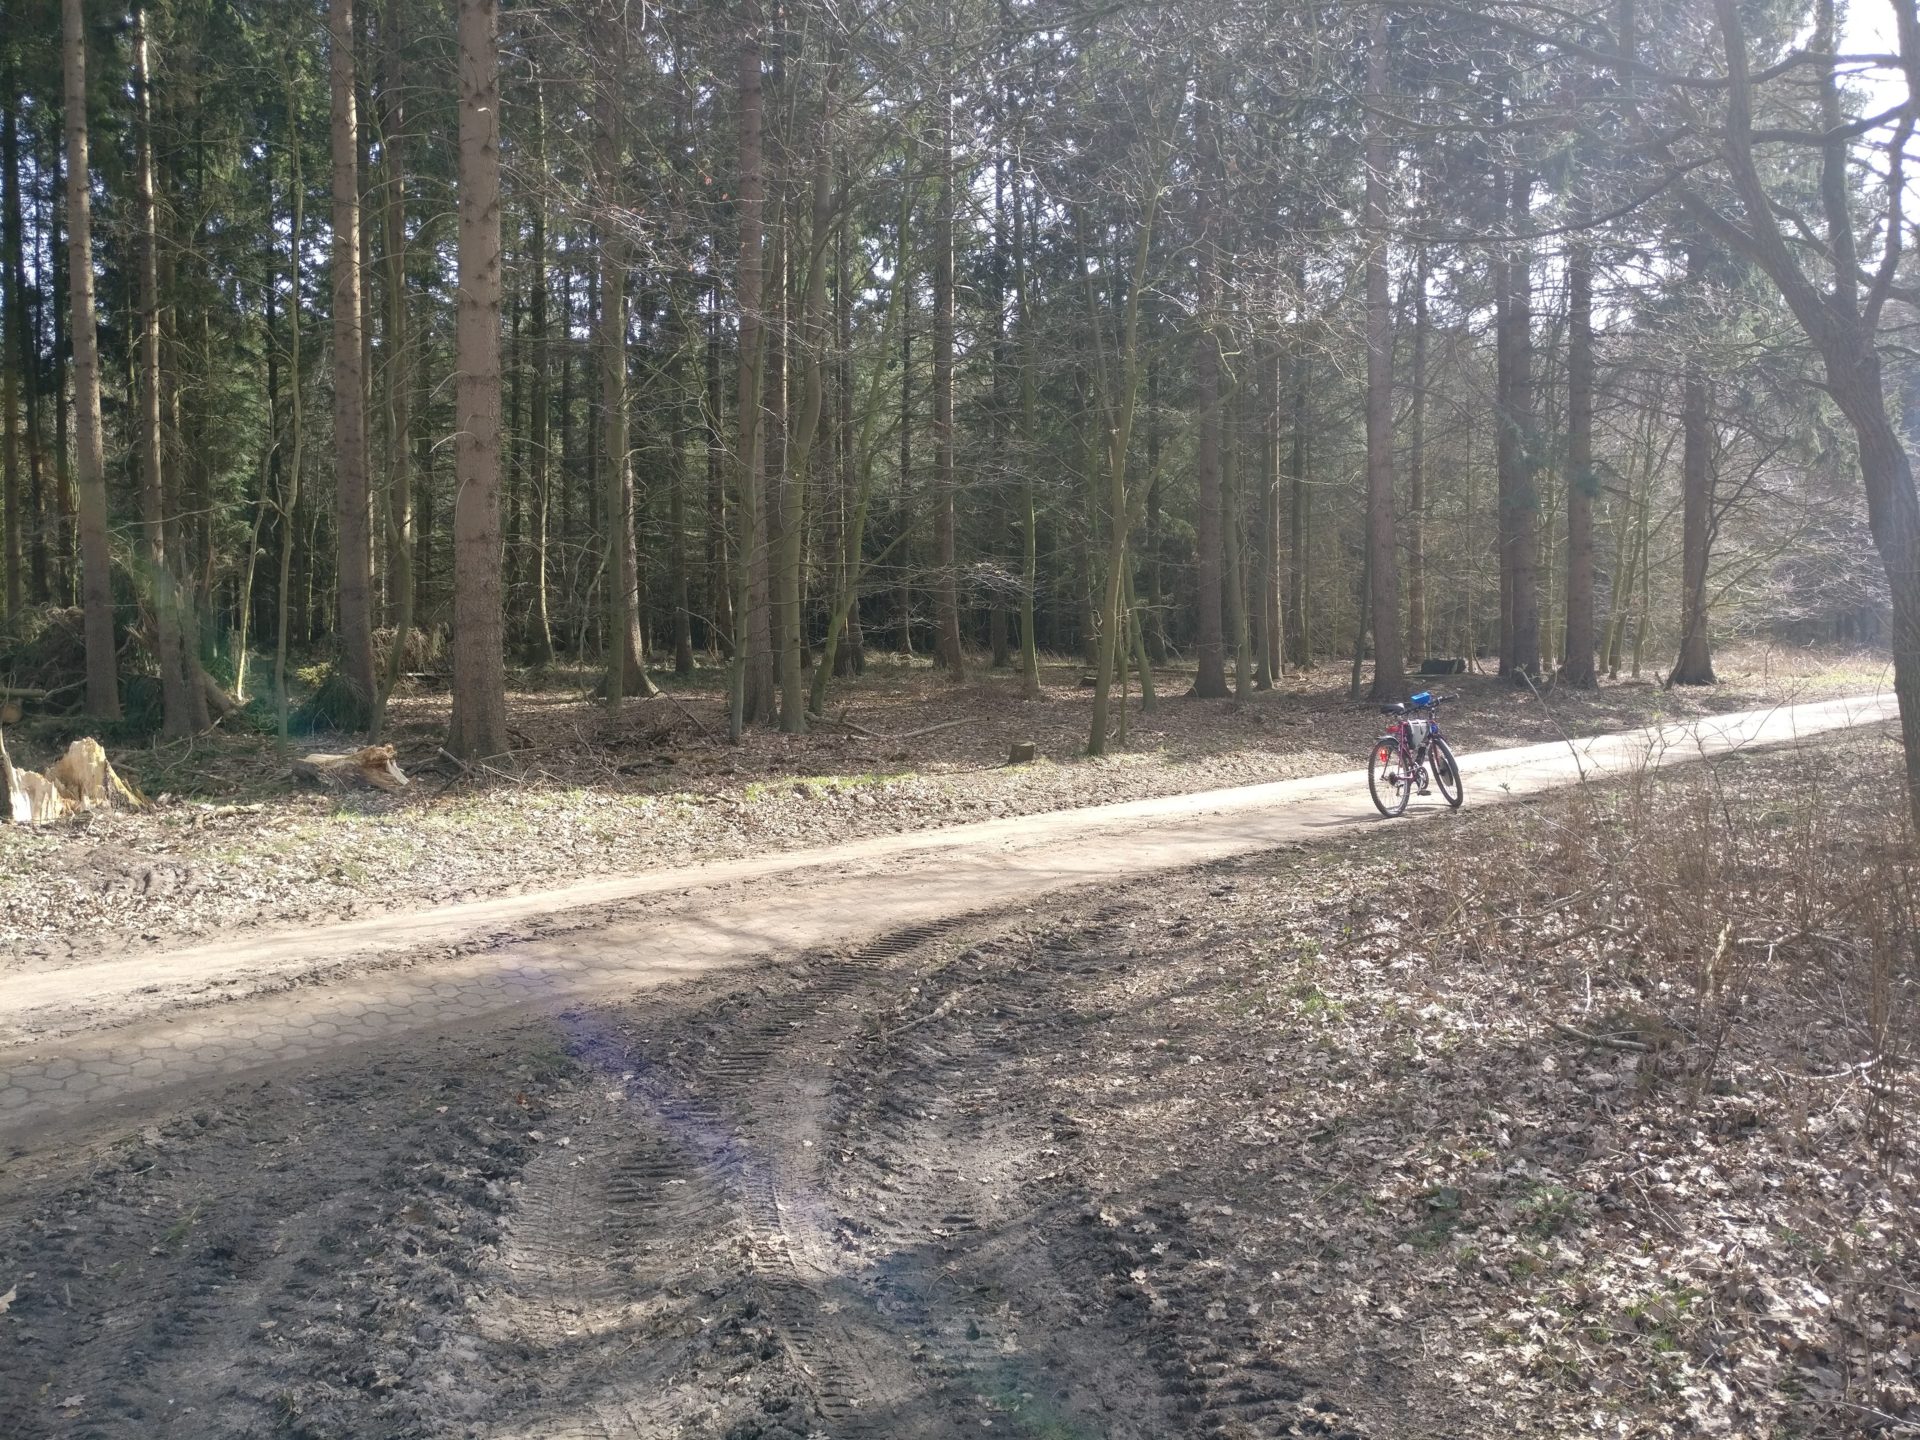
Here are some additional images of the project.
Here is me riding the bike for the fist time with the motor working
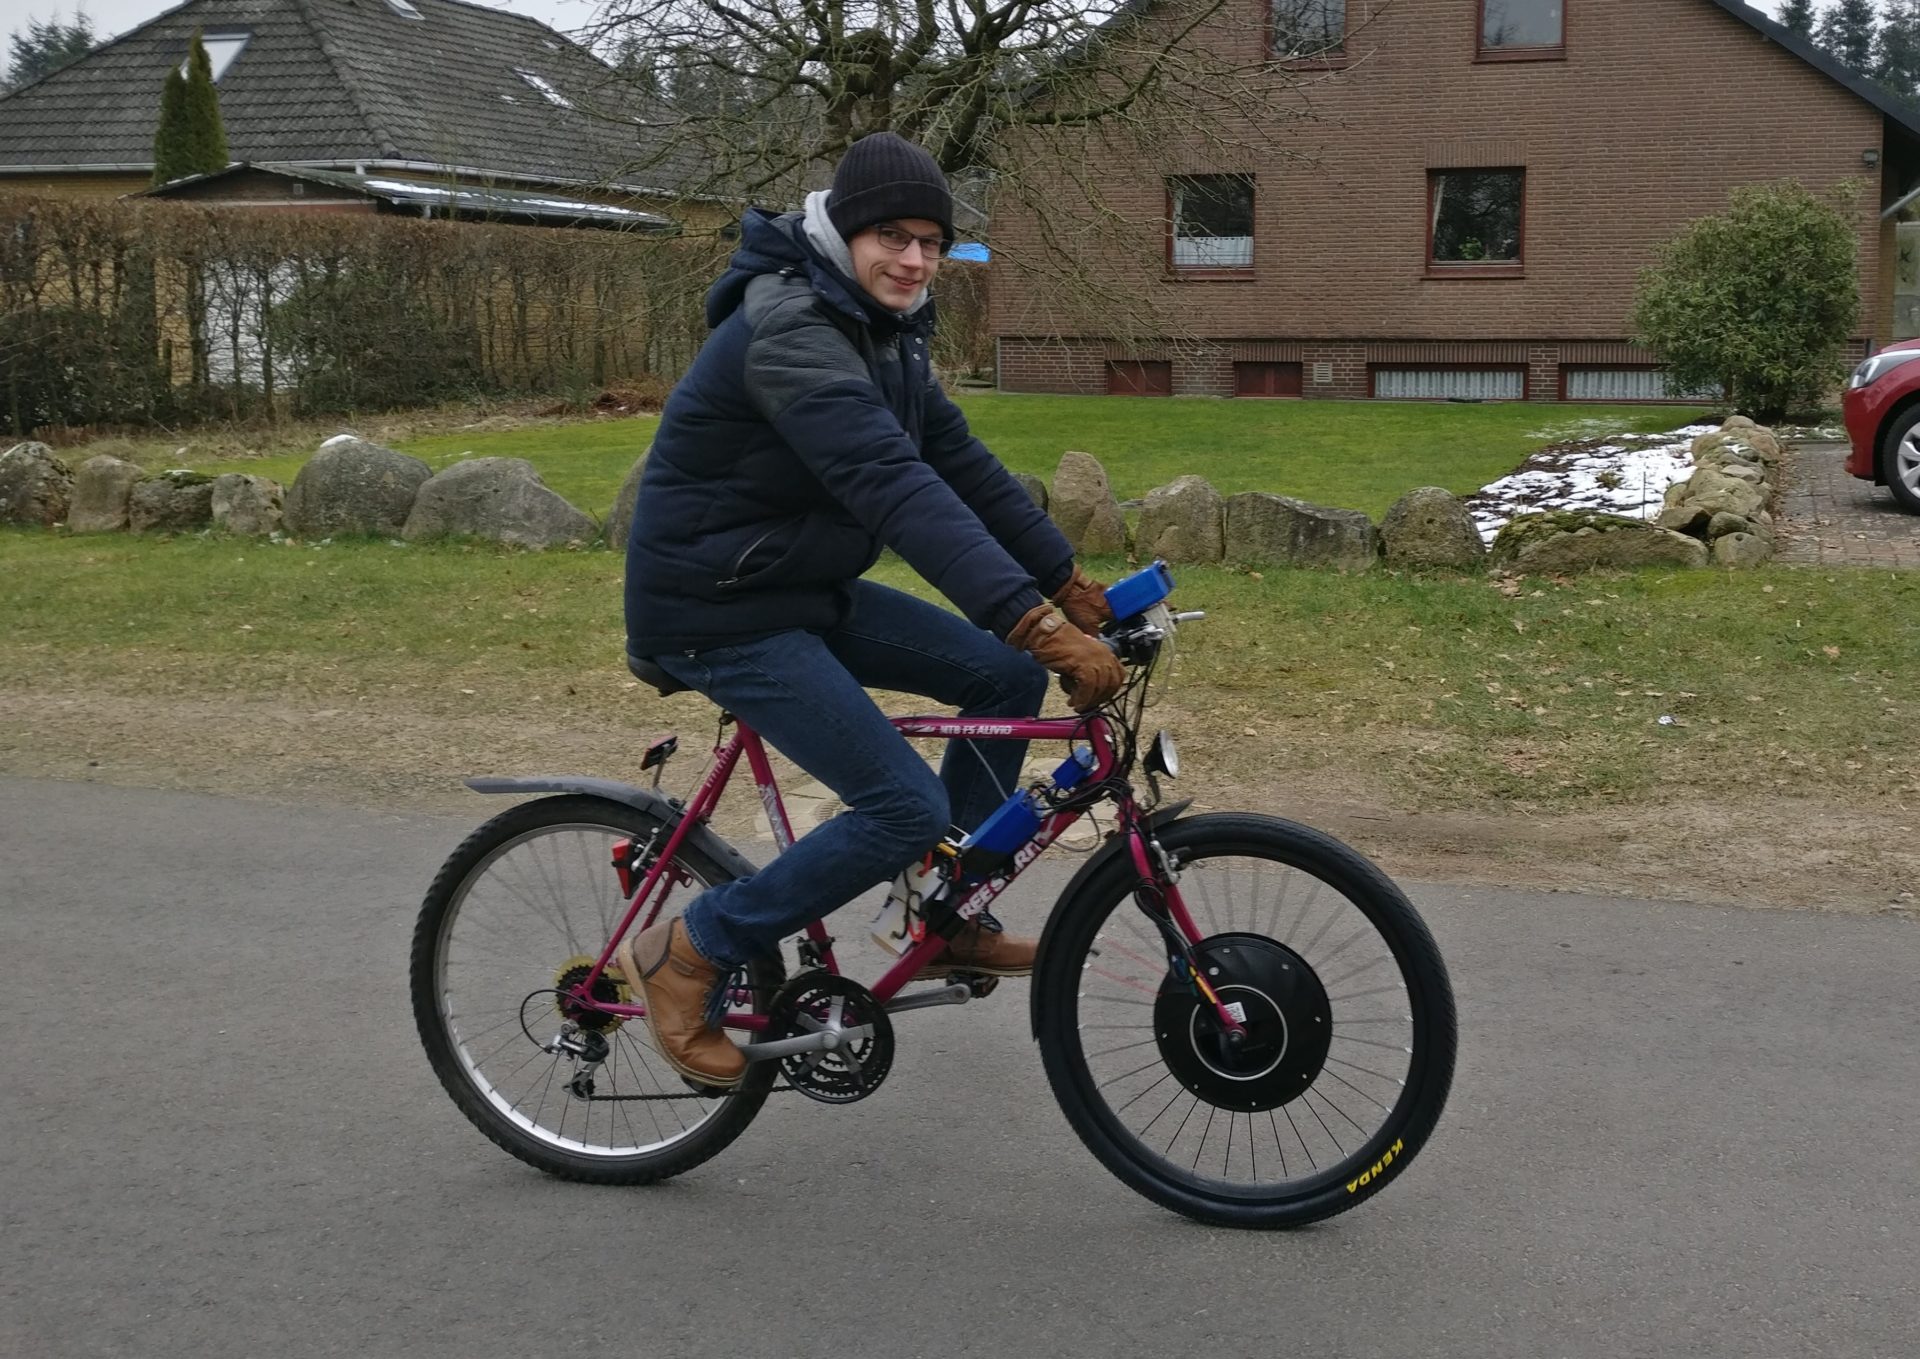
Luckily none of the components were stolen 😁
