GPS Bicycle Computer
Table of Contents
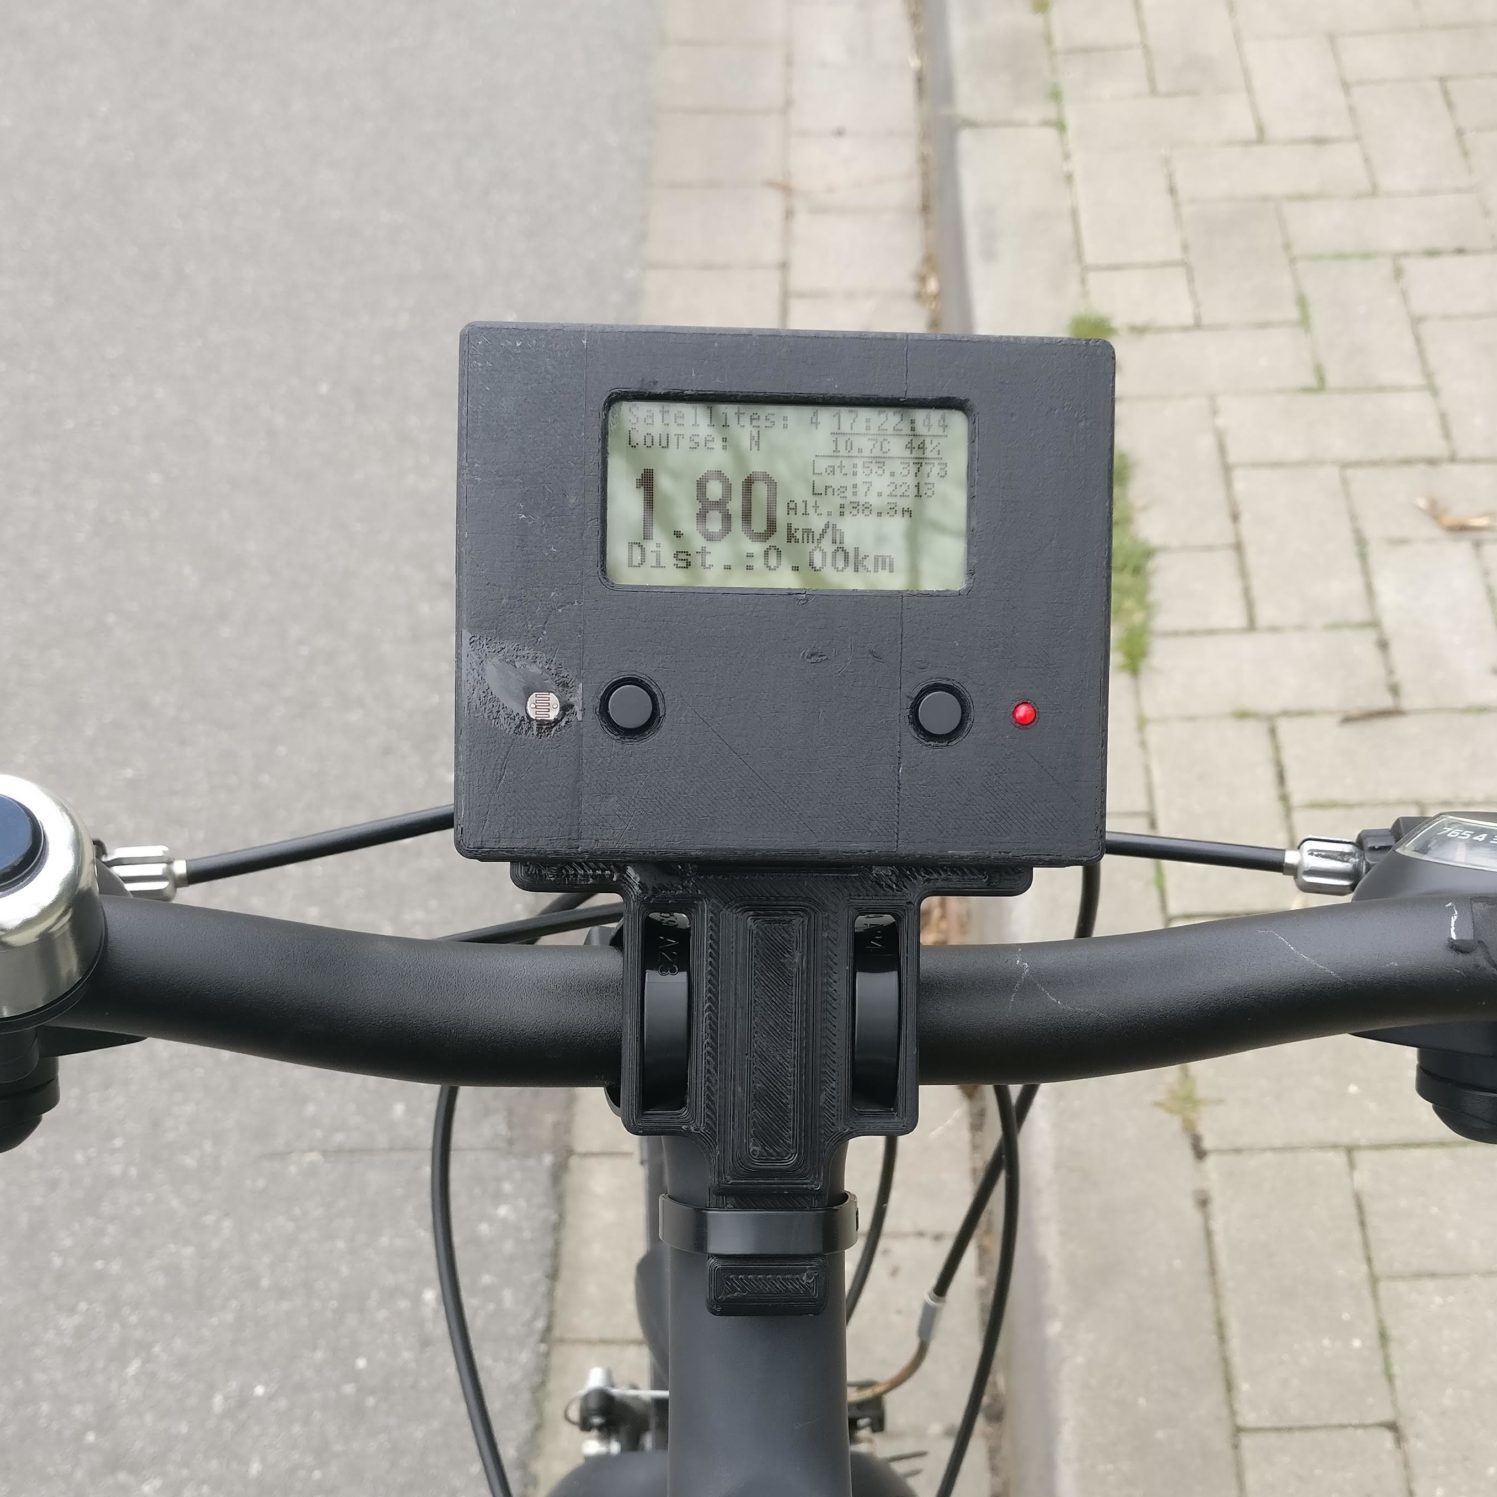
A Bicycle Computer that measures, displays and logs velocity and other useful data. GPS is used to determine the speed. An SD card stores the logged data.
Overview
This small device allows to accurately track your speed and ride-distance with great accuracy, thanks to GPS. Other interesting data, such as air temperature and humidity is measured as well.
All collected data is logged to an SD card, which allows to visualize trips and analyze the data after a ride.
Here's an overview of all features:
- ESP32
- GPS module
- DS3231 RTC
- Temperature and humidity sensor
- One user-button and on-off-button
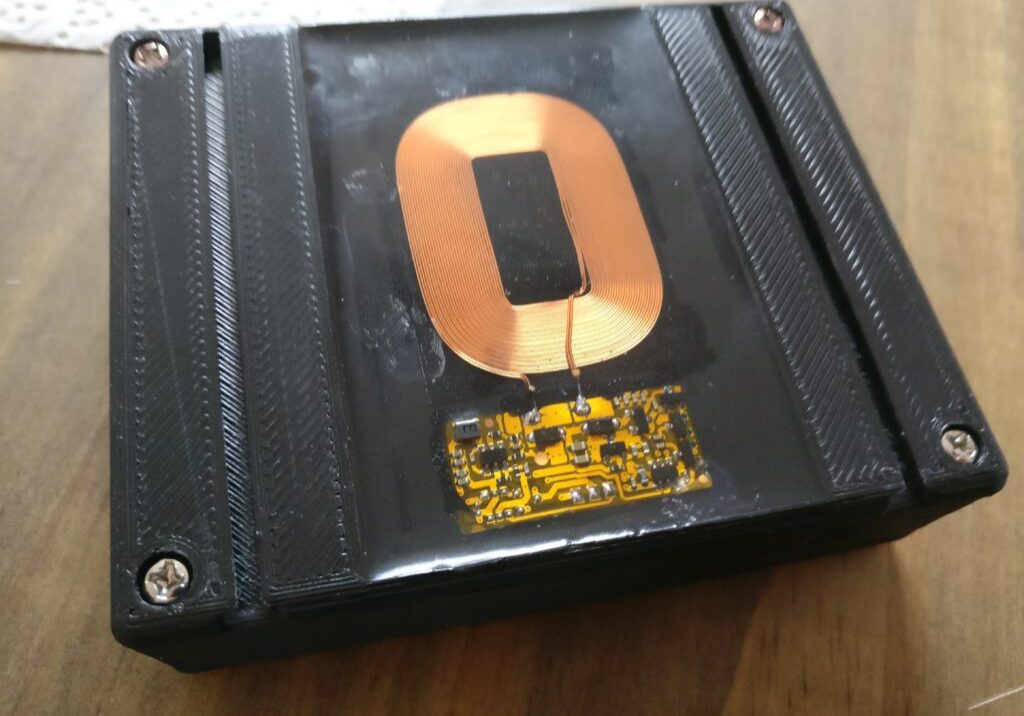
- Wireless charging
- 128x64 LCD screen with backlight
- Light sensor to adjust the backlight
- microSD card slot
The current status of this project is: working but not polished. I have been using this device since the spring of 2019 more or less on a daily basis. Some minor improvements were made over the course of 2019 - 2020.
Hardware
Overview
This project is still work in progress (more on that at the end of this paragraph)
The project is based on an ESP32 microcontroller. It packs a lot of processing power and even has Wi-Fi and Bluetooth hardware, although this is not used in this project.
A GPS module enables the device to measure it's velocity and precise location.
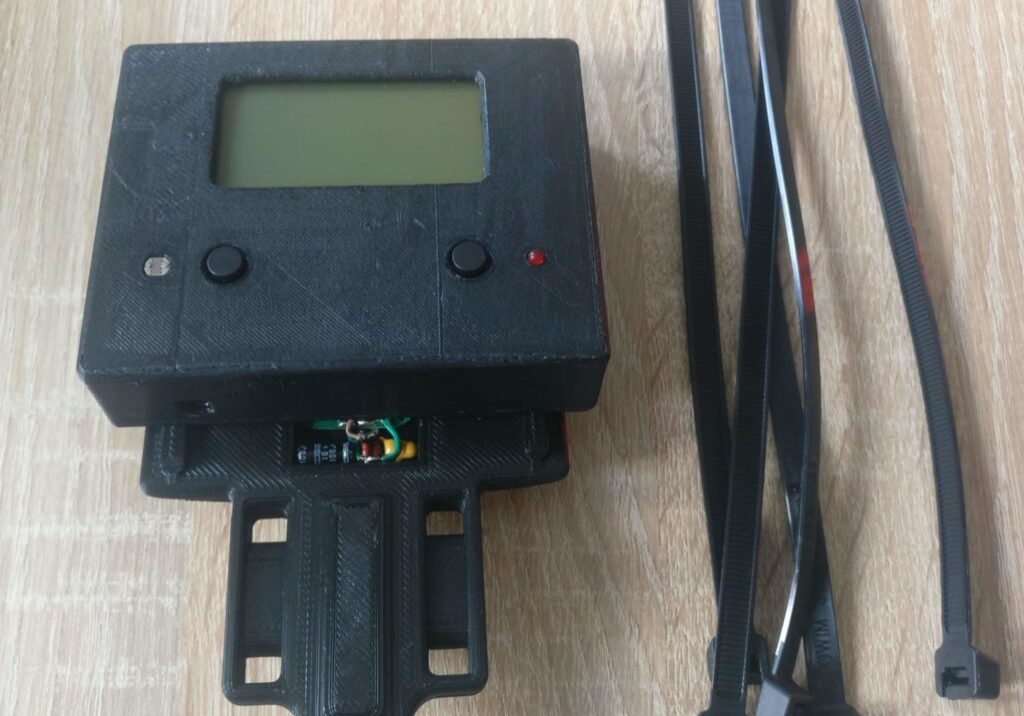
The Bicycle Computer is slid onto a mounting plate, which is rigidly mounted to your handlebar (see the images on the bottom for details).
A 3D-printable case and mounting plate are available on Thingiverse!
Work in progress, what does that mean? There's still a bunch to be improved. That said, the code and mechanical aspects of the project definitely work well enough for a daily usage scenario. If you want to build this Bicycle Computer yourself, you should be pretty familiar with electronics - this is no beginner project.
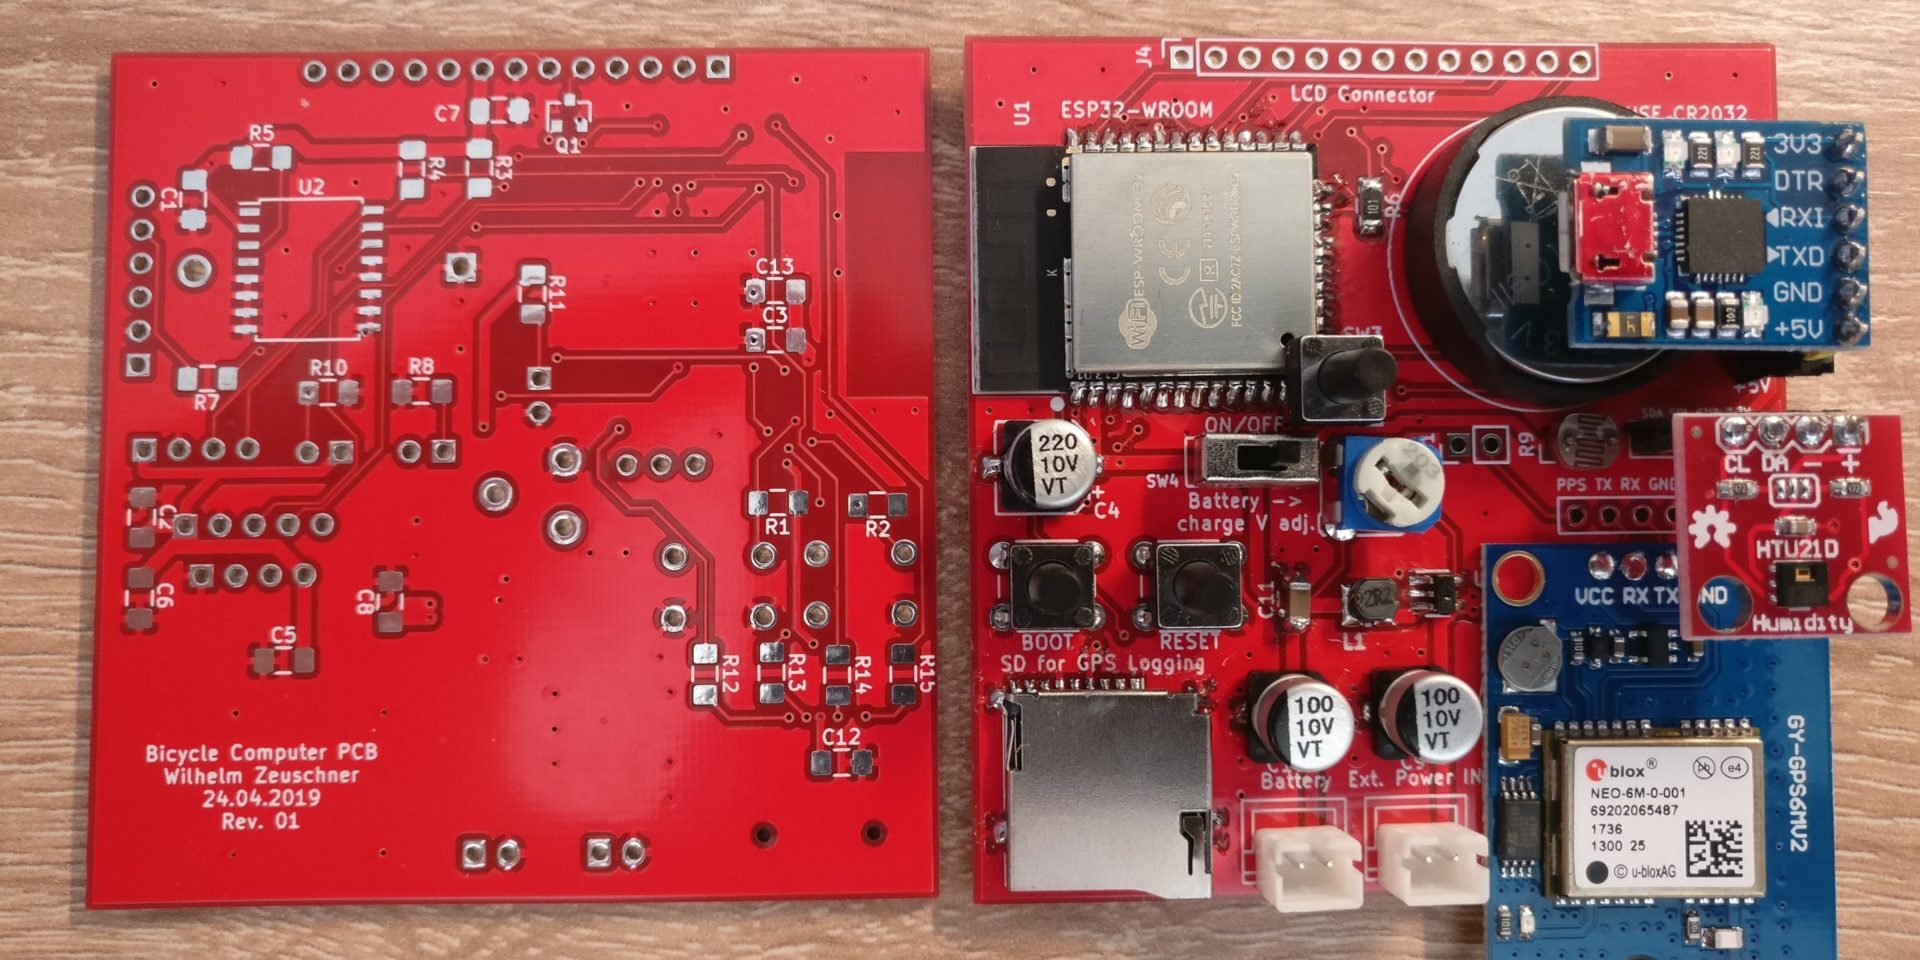
As you can see from the images, I designed a small PCB to mount all of the different devices and modules. Unfortunately there are multiple issues with this design. I do not recommend to just order the current version. Feel free to improve it! I'm not going to invest further work into it, since I already have a working device for myself (my first prototype, which uses using point-to-point wiring).
Part-list
Here's a list of the used modules and parts. It may not be complete and some of the links may become outdated with time. I take no responsibility for any of the linked content. I'll only link to the more "exotic" parts, I'll assume, that you already have common parts such as resistors, LEDs, wires and so on.
- ESP32 Dev Module and Breakout PCB
- 128x64 LCD
- GPS Module
- DS3231 RTC
- HTU21D Temperature and Humidity Sensor
- 5516 LDR
- Battery
- Waterproof buttons (12X12X85)
- Electronic solid state power-button circuit
- Qi Wireless charging:
This list is meant to be more of a reference than an actual bill of materials.
Firmware
Overview
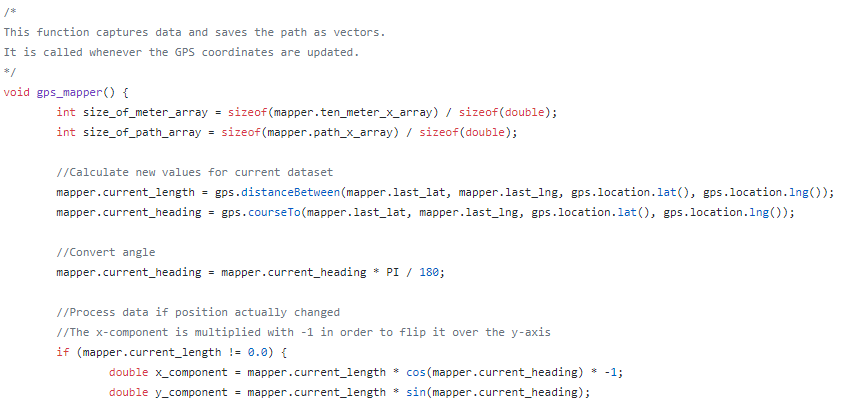
The firmware was written in the Arduino IDE.
It's available on the projects GitHub page.
Features
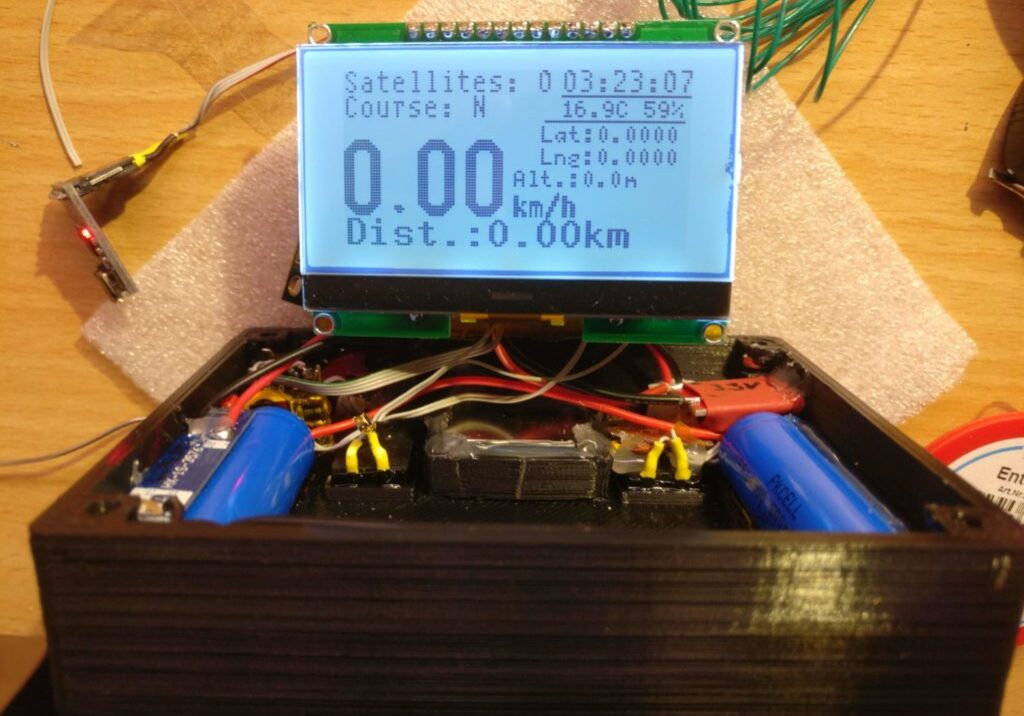
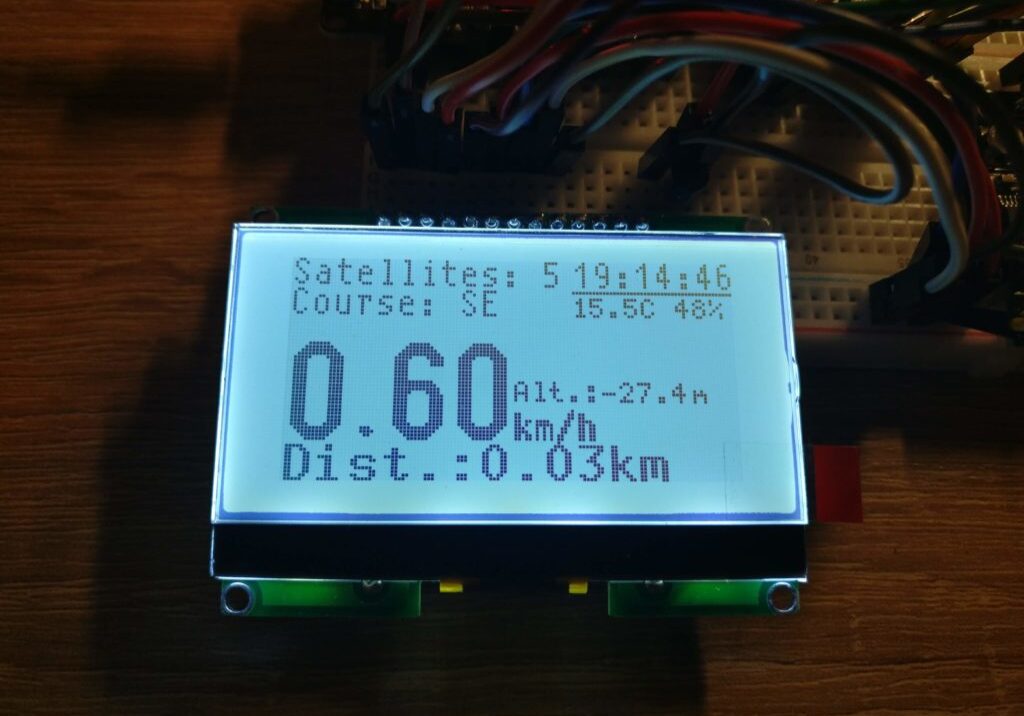
Screen 1: Speedometer
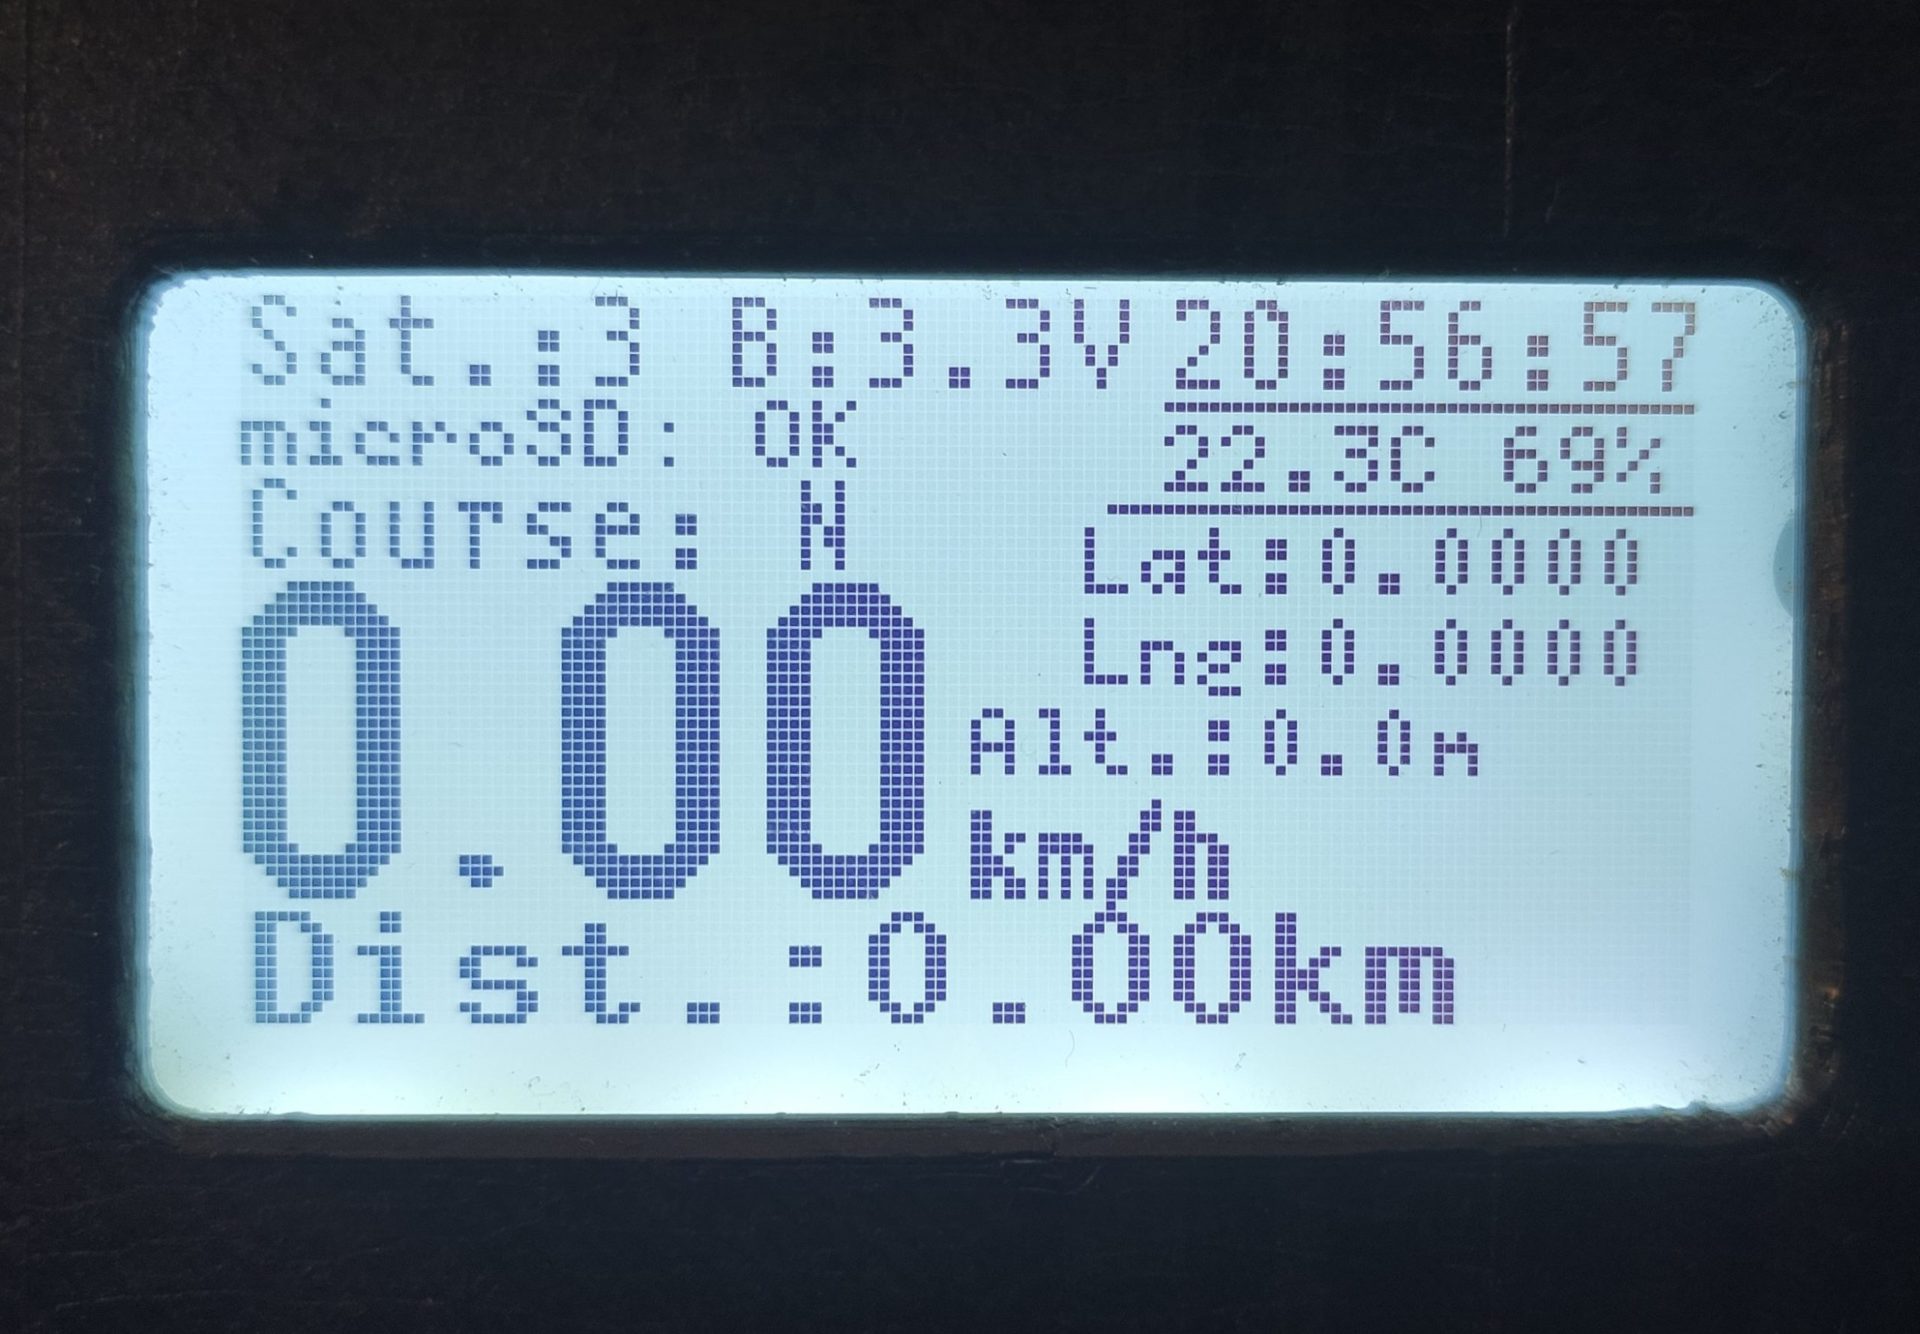
On this screen there is all of the useful data regarding:
- Speed
- Distance
- Elevation
- GPS coordinates
- Time
- Sensor data
- Temperature
- Humidity
- Status info
- Battery
- SD card presence
- Number of GPS satellites with lock
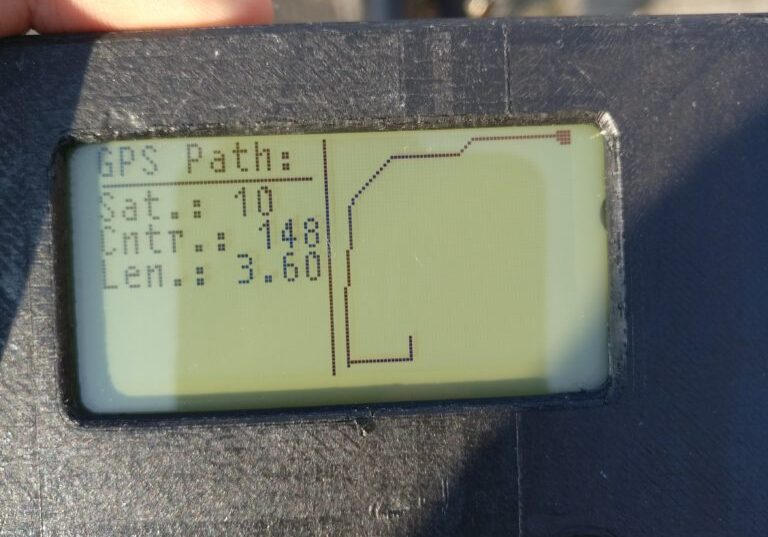
Screen 2: Ride Path
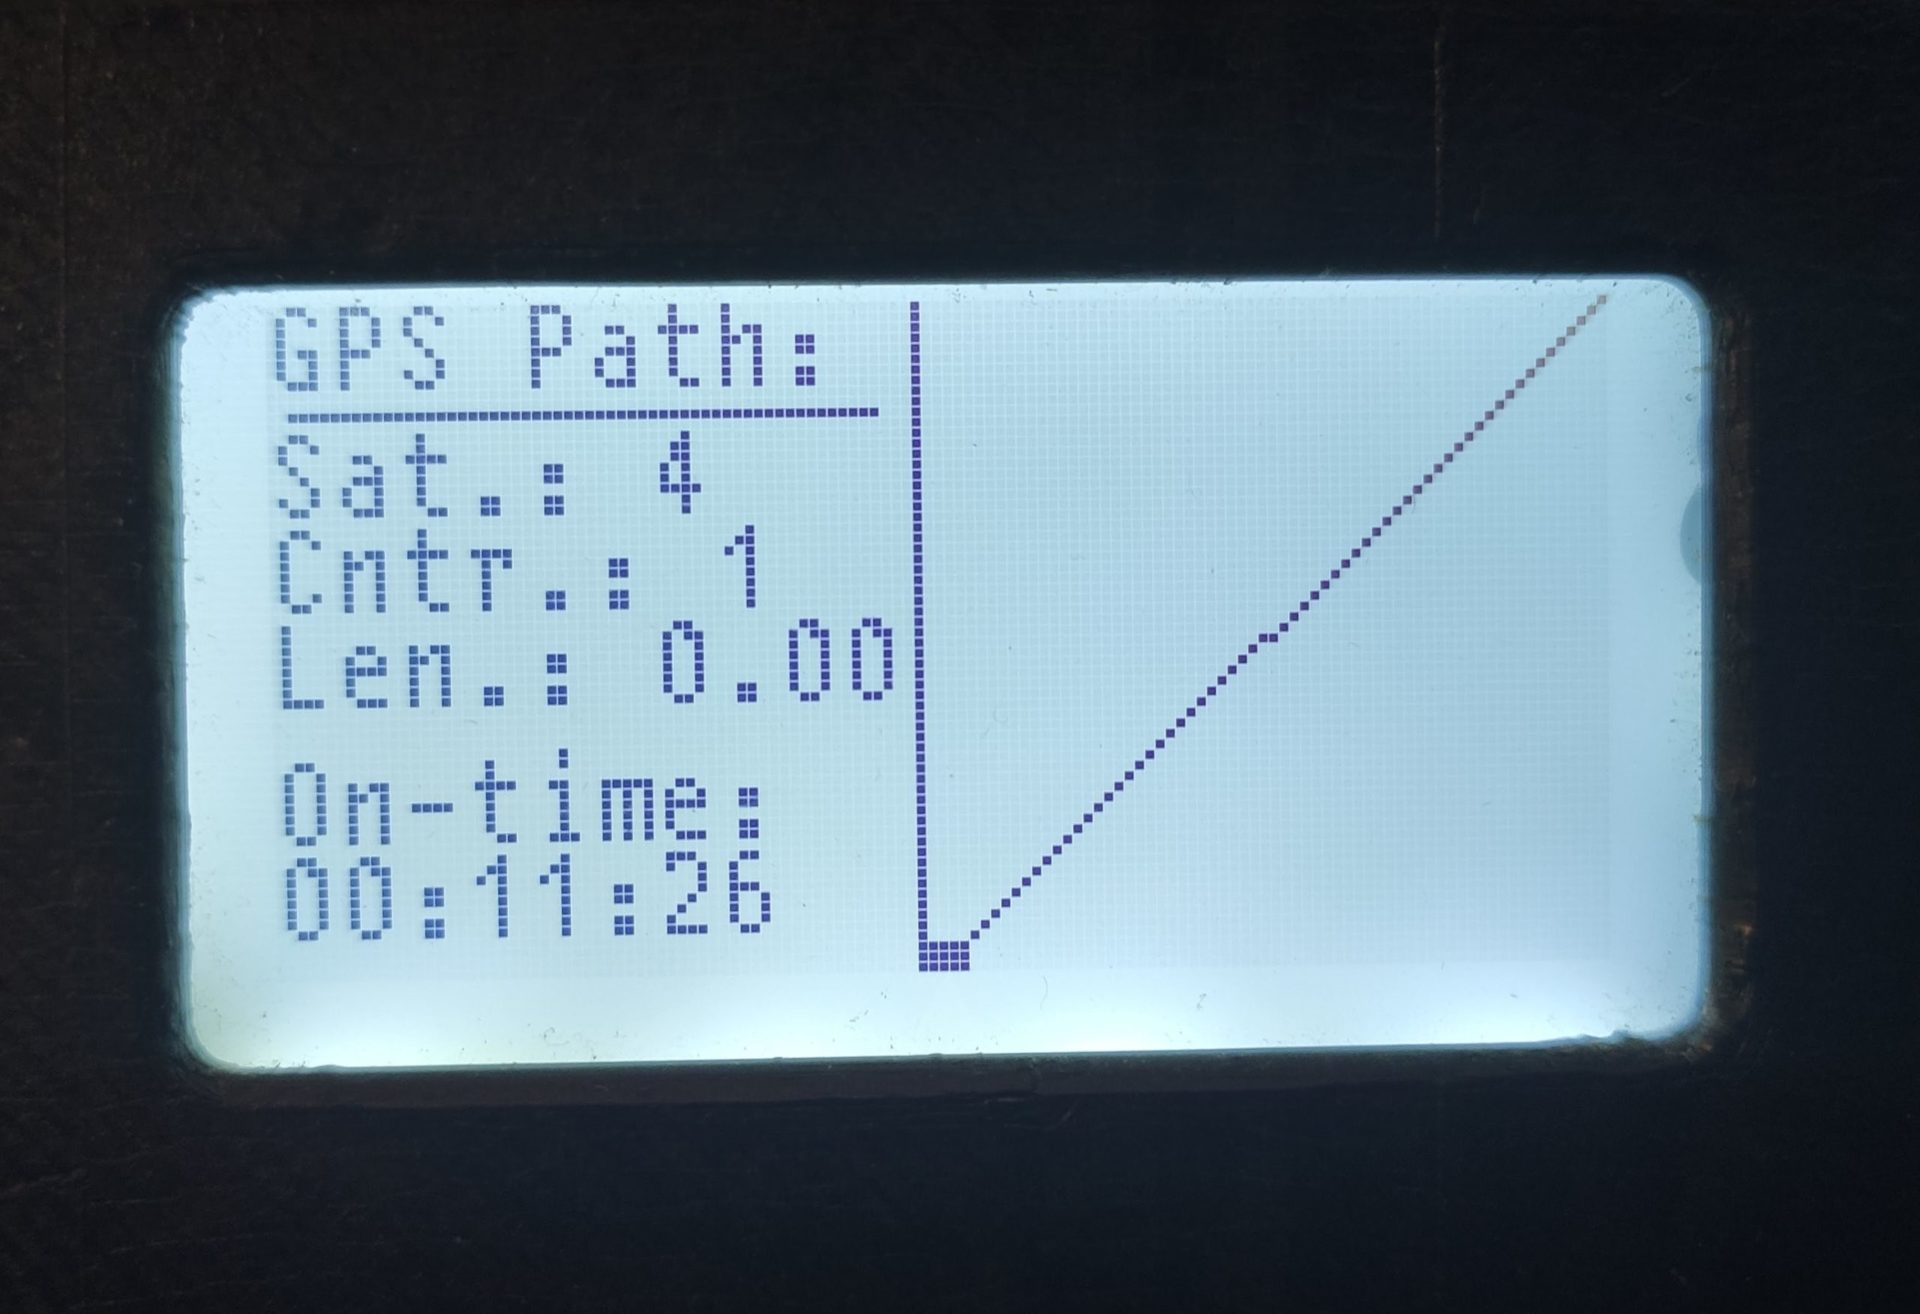
This screen visualizes the path of your trip. GPS data is used to create a top-down representation of your trip.
This feature is unfortunately bugged by what I believe to be floating point rounding errors. After some time the visualization may extend beyond the screen.
Screen 3: Long-Term Stats
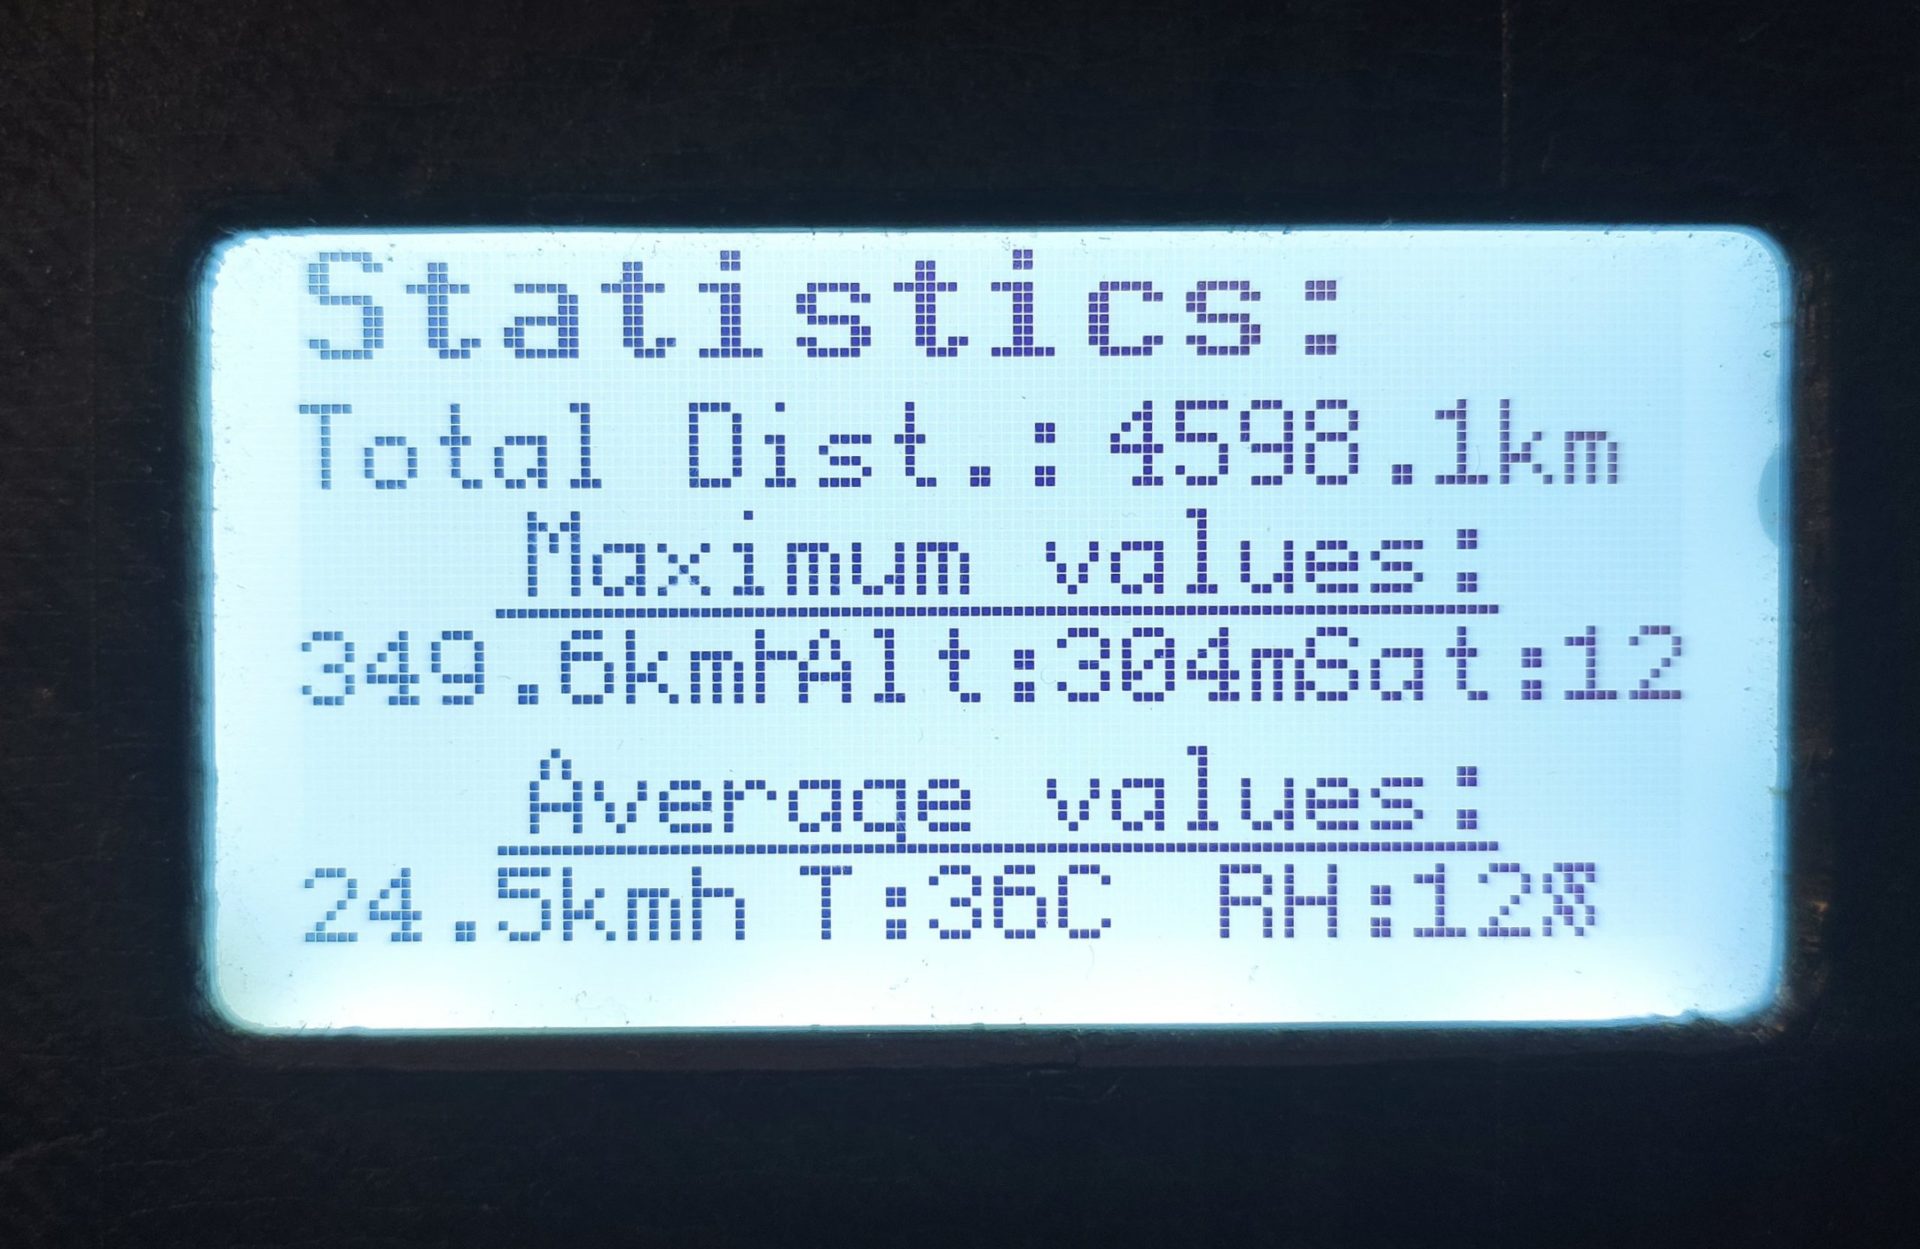
This screen displays some long-term stats. As you can see, some of these values are not realistic. This feature is not completed and has bugs.
Trip Visualization
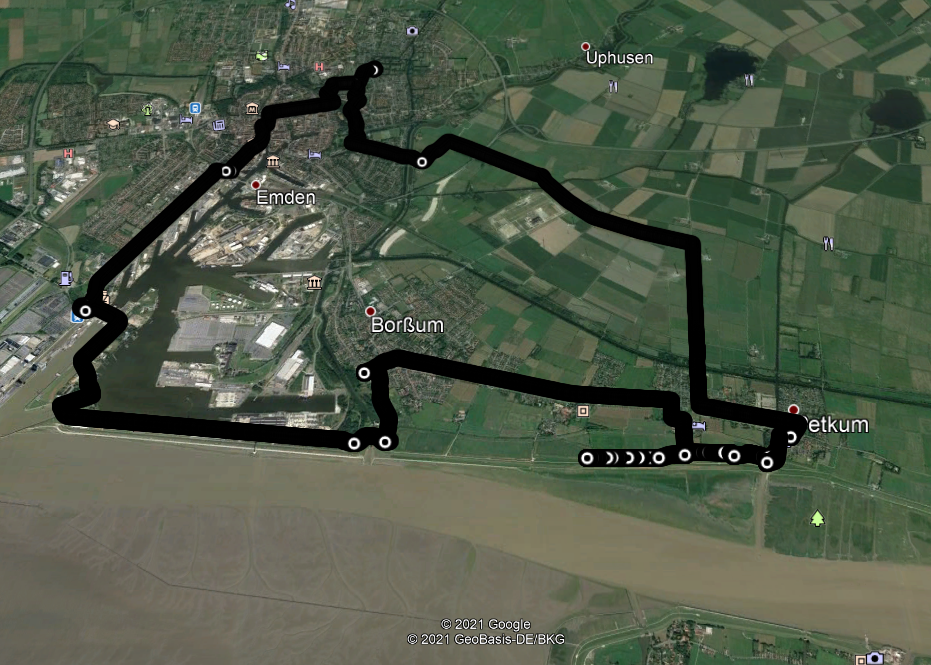
Since all GPS coordinates are logged, programs such as Google Earth Pro can be used to visualize a trip!
Photos
Here are some additional images of the project.
A close-up of the Bicycle Computer mounted on my bike.
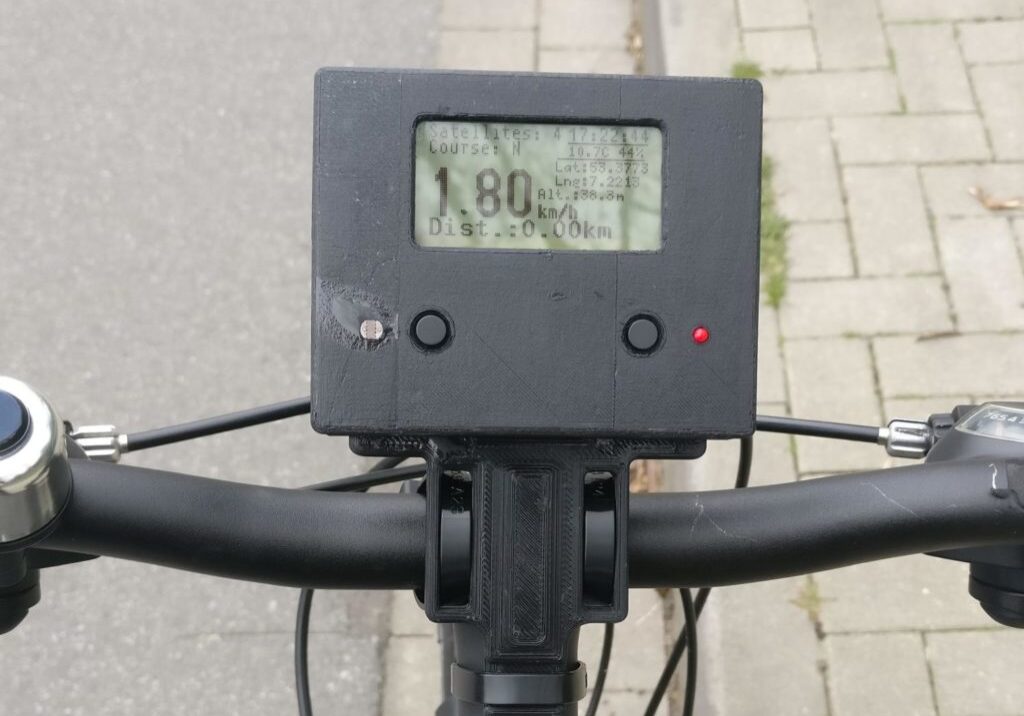
Bicycle Computer on the mounting plate, ready to be attached to the bike.
Backside with Wireless Charging coil.
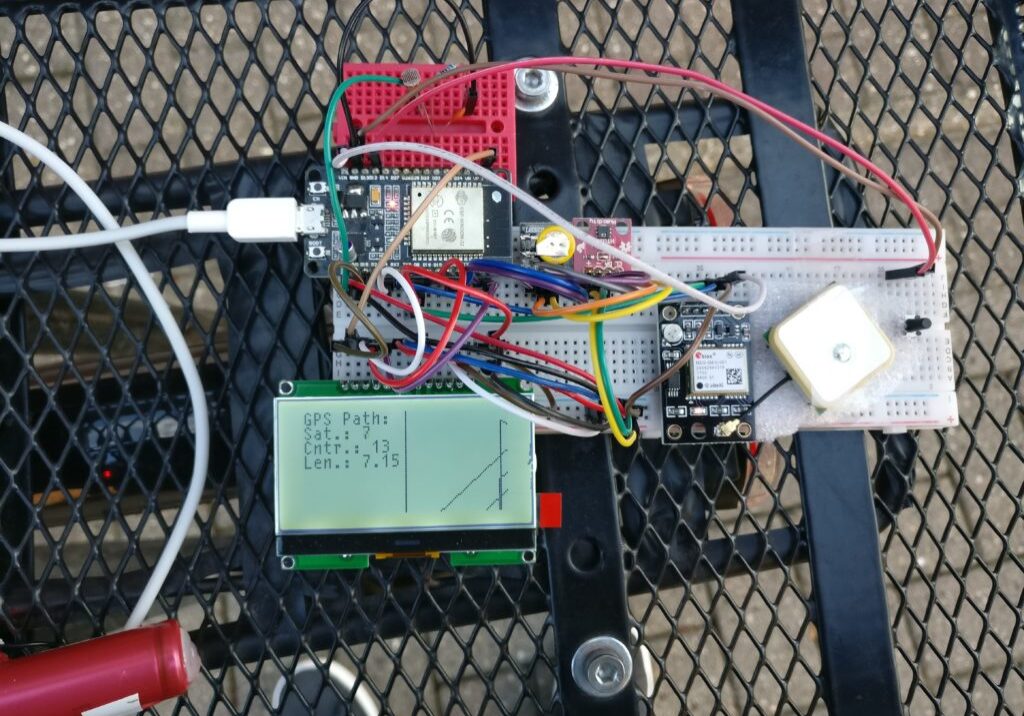
Some pictures taken during prototyping / development.
